Paris Brest – Mastering the Classic French Choux Pastry Dessert
The Paris Brest is an iconic French dessert that combines airy choux pastry with a luxurious, creamy custard. Created in 1910 to commemorate the famous Paris-Brest cycling race, this dessert is as visually striking as it is indulgent. The round, wheel-like shape pays homage to the bicycle, while the combination of crisp pastry and smooth filling has made it a staple in French patisseries and home kitchens worldwide.
This guide will walk you through every detail of making a perfect Paris Brest, from understanding each ingredient’s role, mastering choux pastry, creating a flawless custard, to presenting an elegant dessert. Whether you are baking for the first time or an experienced home baker, this extended, detailed version ensures success.
Ingredients & Their Roles – The Science Behind Each Component
Pâte à Choux Pastry Dough:
- 1 cup water: Provides the liquid base. Water creates steam during baking, which is the primary leavening mechanism of choux pastry. Steam helps the pastry puff up, forming a hollow interior ideal for filling.
- 1/2 cup unsalted butter: Adds richness and flavor, helps bind the flour, and contributes to a tender, slightly crisp exterior.
- 1 tsp sugar: Supports browning and adds subtle sweetness to balance the buttery dough.
- 1/2 tsp salt: Enhances flavor, balancing sweetness, and drawing out the taste of butter and eggs.
- 1 cup all-purpose flour: Provides structure. Flour gelatinizes with water, creating the backbone of the dough while still allowing it to expand.
- 4 eggs: Eggs are essential for leavening, structure, and richness. They trap steam, allowing the pastry to rise, and provide elasticity, which keeps the dough from collapsing.
Custard Filling:
- 2 cups whole milk: The base for the custard, adding creaminess and a smooth texture.
- 3 eggs + 1 yolk: Serve as thickening agents and provide a rich, silky mouthfeel.
- 2/3 cup granulated sugar: Sweetens the custard and helps stabilize it during cooking.
- 1/4 cup cornstarch: Prevents curdling and ensures smooth, stable custard without lumps.
- 1/4 cup all-purpose flour: Provides additional structure, making the custard pipeable and able to hold its shape inside the pastry.
- 1/8 tsp salt: Balances sweetness and enhances the overall flavor profile.
Step-by-Step Instructions – Thorough and Detailed
1. Preparing the Custard Filling
Start by preparing the custard several hours ahead or the night before, as it benefits from resting time. In a large mixing bowl, whisk together the 3 whole eggs and 1 egg yolk with the 2/3 cup granulated sugar. Whisk until the mixture is pale yellow and slightly thickened. The air incorporated during whisking improves the texture of the custard.
Next, add the cornstarch, flour, and salt to the egg mixture, whisking continuously to ensure there are no lumps. This combination of starches and eggs will thicken the custard when heated and provide a smooth, pipeable filling.
Heat the milk in a medium saucepan over medium heat until it begins to scald—steam will rise from the surface, but do not allow it to boil. Boiling milk can cause curdling and disrupt the custard’s smooth texture.
Temper the eggs by adding a small amount (about 1/4 cup) of hot milk into the egg mixture while whisking vigorously. This step prevents the eggs from scrambling when they are combined with the hot milk.
Slowly pour the tempered egg mixture back into the remaining milk in the saucepan. Return the pan to medium-low heat and whisk continuously for 7–9 minutes until the custard thickens to a smooth, pudding-like consistency. Keep whisking without pause; this prevents lumps and ensures even cooking.
2. Cooling and Flavoring the Custard
Once the custard has thickened, transfer it to a clean bowl. Cover with plastic wrap, pressing it directly onto the surface to prevent a skin from forming. Chill in the refrigerator for at least 2 hours or overnight. Chilling allows the custard to set properly, enhances flavor, and improves piping performance. Optional: stir in vanilla or almond extract at this stage for added aroma.
3. Making the Pâte à Choux
In a medium saucepan, combine the water, butter, sugar, and salt. Heat over medium heat until the butter fully melts and the mixture begins to boil. Remove from heat and immediately add all the flour at once. Stir vigorously with a wooden spoon until a smooth, cohesive dough forms and pulls away from the sides of the pan.
Let the dough cool for 5 minutes. Add the eggs one at a time, mixing thoroughly after each addition. The dough should be glossy, smooth, and slightly sticky. Proper incorporation of eggs is crucial for puffing and structure during baking.
4. Shaping and Baking the Choux
Preheat oven to 375°F (190°C). Line a baking sheet with parchment paper. Transfer the dough to a piping bag with a large round tip. Pipe a circle approximately 6–8 inches in diameter. For a traditional layered Paris Brest, pipe a second ring on top of the first, pressing slightly to adhere.
Bake for 25–30 minutes until golden brown and puffed. Do not open the oven during baking; steam is essential for puffing. Once baked, allow the pastry to cool completely before slicing horizontally to fill.
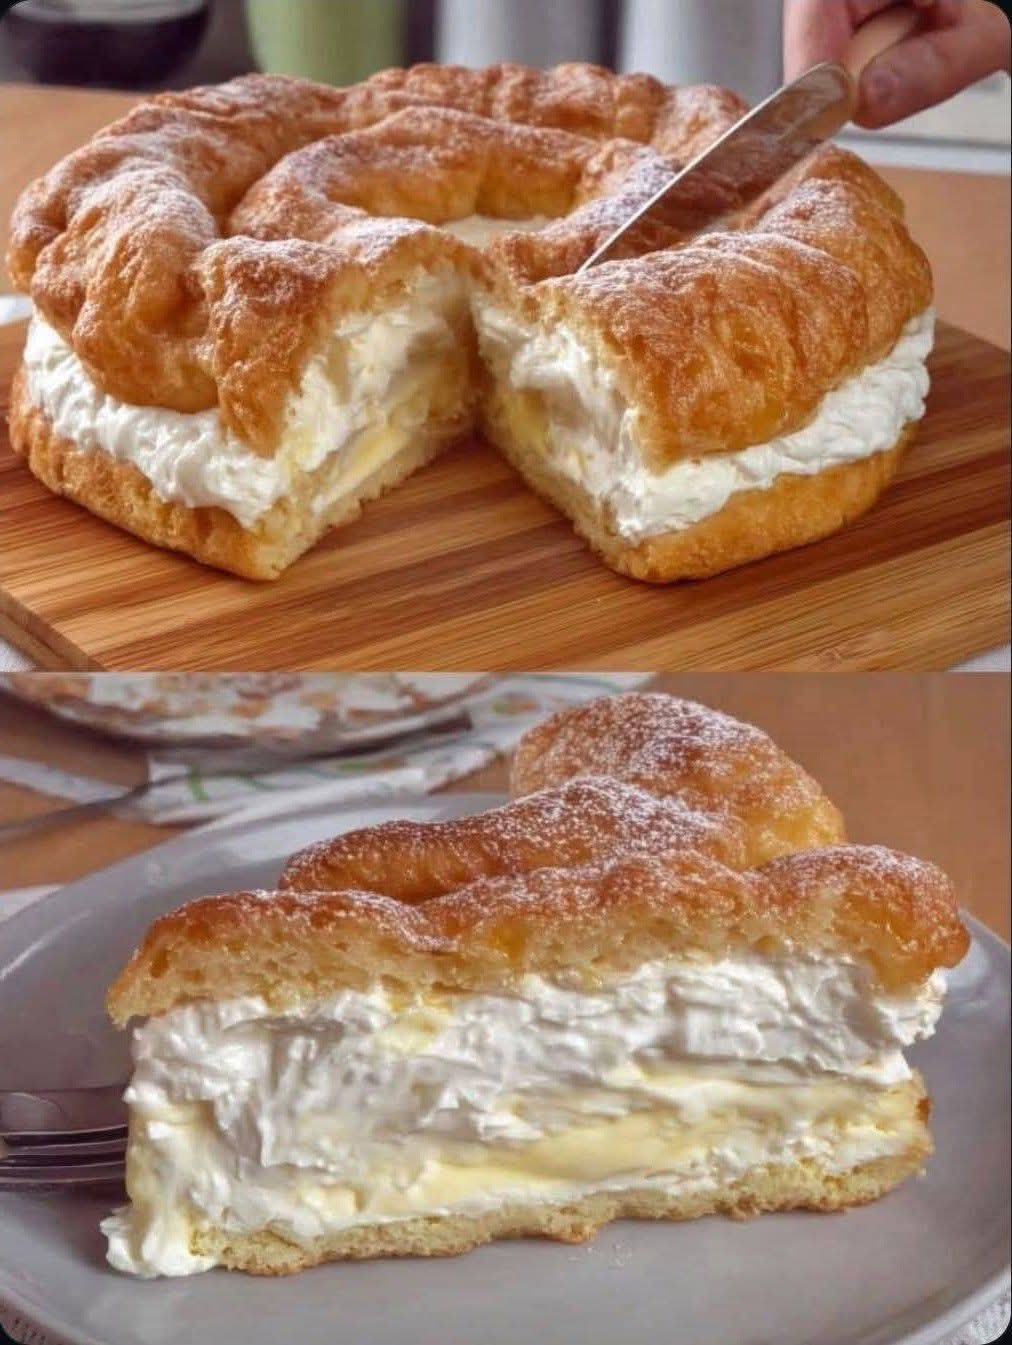
5. Assembling the Paris Brest
Pipe the chilled custard into the hollow center of the pastry, either in a spiral or with a star tip for decorative effect. Place the top half of the pastry over the custard. Dust with powdered sugar for a classic finish. Optional: garnish with toasted almonds or a drizzle of chocolate or caramel for a professional patisserie touch.
- Use room-temperature eggs for smooth dough and custard.
- Whisk custard continuously to prevent lumps and ensure silky texture.
- Pipe custard slowly to fill evenly without bursting the pastry.
- Chill both pastry and custard slightly for cleaner slicing and serving.
- Add flavor variations to custard: coffee, hazelnut, or fruit puree for creative twists.
- For mini versions, pipe smaller circles to create individual servings perfect for parties or brunches.
Serving Suggestions & Storage
- Serve immediately after assembly to enjoy the crispness of the choux and the creamy custard.
- Store leftovers in an airtight container in the refrigerator for up to 2 days. Custard will thicken slightly; allow to sit at room temperature for 10–15 minutes before serving.
- To refresh pastry, briefly warm in a 300°F oven for 5 minutes. Avoid overheating to prevent softening.
- Pairs beautifully with coffee, tea, or a light dessert wine for a refined presentation.
Optional Enhancements & Creative Variations
- Chocolate Paris Brest: Add chocolate chips or drizzle ganache over custard.
- Fruit-Filled: Incorporate raspberry or passionfruit puree into custard for a fruity twist.
- Nuts: Sprinkle toasted almonds, hazelnuts, or pistachios for texture and visual appeal.
- Miniature Versions: Create bite-sized Paris Brest pastries for elegant individual servings.
- Flavored Custard: Infuse custard with coffee, vanilla bean, or liqueurs like Grand Marnier for depth.
Final Notes
The Paris Brest is more than a dessert; it is a demonstration of technique, patience, and artistry. Its balance of crisp pastry and silky custard, combined with elegant presentation, makes it a centerpiece dessert for any special occasion. By following this comprehensive guide, you will achieve a Paris Brest worthy of a French patisserie, impressing friends and family alike. Every bite rewards the effort, delivering a luxurious and unforgettable flavor experience.