Old-Fashioned Oklahoma Nut Candy — A Classic Sweet Treat
If you’re looking for a candy that combines rich, buttery flavor with a satisfying crunch, look no further than this Old-Fashioned Oklahoma Nut Candy. This classic treat features a soft-ball fudge base packed with crunchy nuts and topped with a smooth, melted chocolate layer for a decadent finish. It’s a timeless recipe that has been loved for generations and remains a favorite at holidays, parties, and cozy family gatherings.
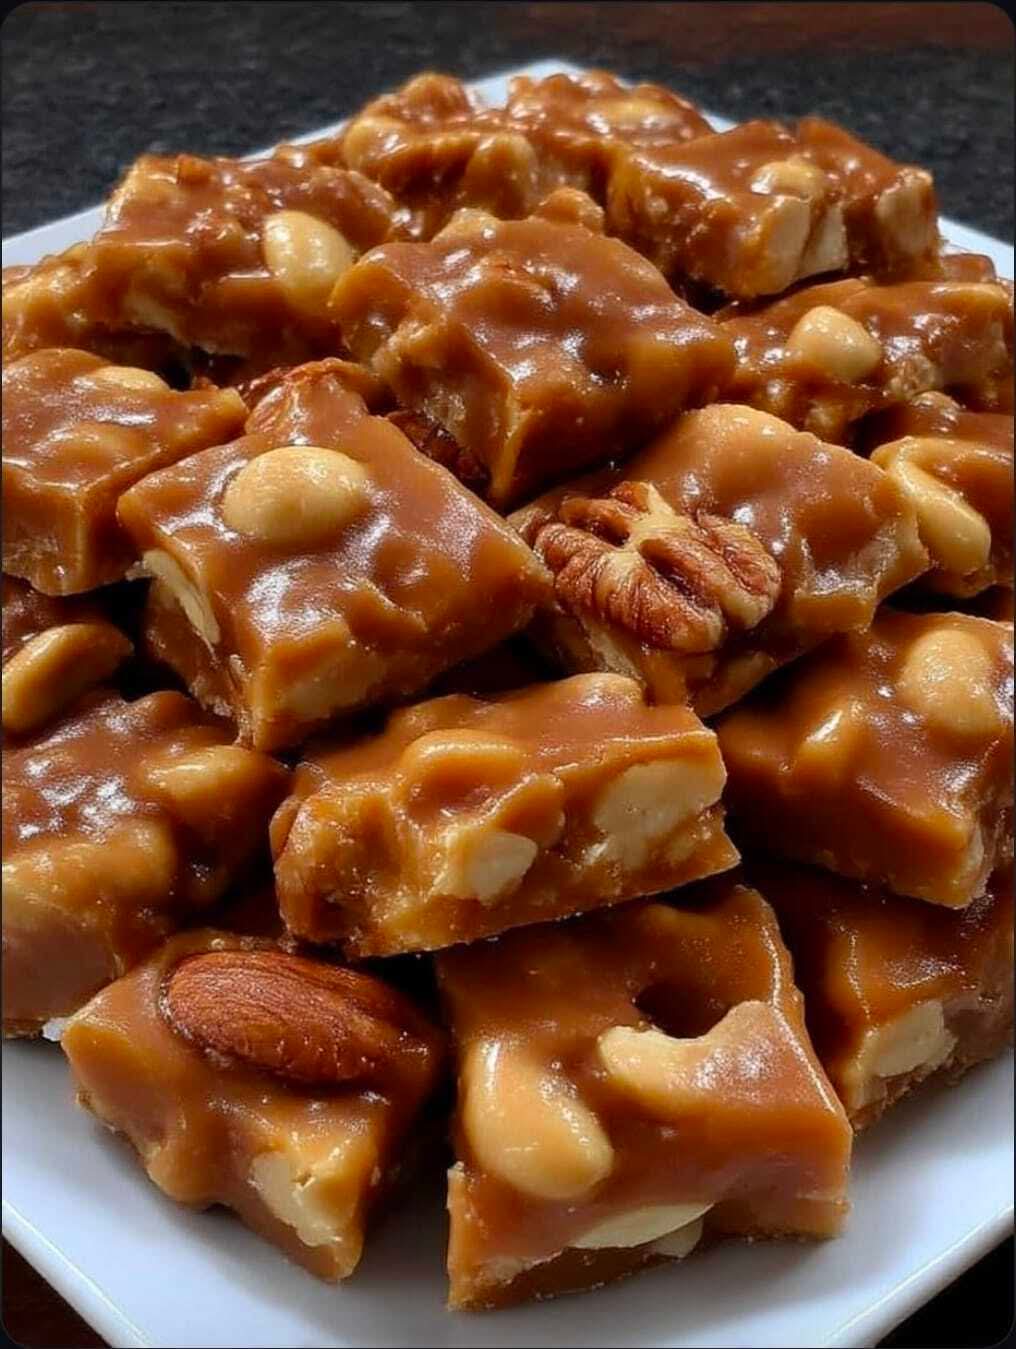
The charm of this candy lies in its simplicity yet indulgent taste. The buttery fudge base melts in your mouth, while the nuts provide texture and nutty depth. Topped with silky chocolate, this candy offers a perfect balance of sweet, creamy, and crunchy, creating a treat that’s hard to resist. Whether you’re making it for a festive occasion or just to satisfy a sweet craving, this Oklahoma classic delivers joy in every bite.
This candy is approachable enough for beginners yet rewarding for seasoned candy makers. With a candy thermometer and careful attention to temperature, you can achieve that perfect soft-ball stage every time, ensuring a smooth, melt-in-your-mouth texture.
Why This Candy Is Loved
- Buttery Fudge Base: Rich and smooth, creating a luxurious texture that contrasts beautifully with crunchy nuts.
- Crunchy Nuts: Pecans, peanuts, or walnuts add both flavor and texture, enhancing each bite.
- Chocolate Topping: Adds a silky, glossy finish that makes this candy visually appealing and irresistibly indulgent.
- Timeless Recipe: Loved for generations, perfect for sharing with family and friends.
- Customizable: You can change the nut combination or chocolate type according to preference.
- Perfect Bite-Sized Treats: Easy to portion into 24–30 pieces for gifting or snacking.
Ingredients & Their Role in Creating the Perfect Candy
- 1 cup unsalted butter: Provides richness, creaminess, and a smooth texture to the candy base.
- 2 cups granulated sugar: Sweetens the candy and helps achieve the soft-ball stage for proper consistency.
- 1/2 cup evaporated milk: Adds creaminess and moisture to the fudge, preventing it from becoming too dry.
- 1 teaspoon vanilla extract: Enhances the overall flavor with warm, aromatic notes.
- 2 cups chopped nuts (pecans, peanuts, or walnuts): Provide crunch, flavor, and texture contrast to the smooth candy base.
- 1 1/2 cups semi-sweet or milk chocolate chips: Creates a silky topping that complements the buttery fudge and adds visual appeal.
- Additional chopped nuts (optional): Can be sprinkled on top for extra texture and decorative appeal.
Pro Tip: Use high-quality chocolate chips and freshly chopped nuts for maximum flavor and freshness. Toasting the nuts lightly before adding them enhances their aroma and depth.
Step-by-Step Instructions for Old-Fashioned Oklahoma Nut Candy
Follow these detailed steps to create a rich, buttery candy with a smooth chocolate topping and perfectly crunchy nuts. Each step includes helpful tips to ensure your candy comes out flawlessly.
Step 1 — Prepare the Pan
Line an 8 × 8-inch baking pan with parchment paper or lightly grease it. This ensures that your candy can be removed easily once it has set, preventing sticking and breakage.
Pro Tip: For extra ease, lightly spray the parchment with cooking spray, especially at the edges, to prevent the candy from sticking.
Step 2 — Make the Candy Base
In a large saucepan over medium heat, combine:
- 1 cup unsalted butter
- 2 cups granulated sugar
- 1/2 cup evaporated milk
Stir constantly until the mixture comes to a boil. Once boiling, stop stirring and let it cook until it reaches the soft-ball stage (235°F–240°F) on a candy thermometer, about 8–10 minutes.
Pro Tip: A candy thermometer is key here. Reaching the soft-ball stage ensures the candy sets perfectly — not too soft and not too hard. Avoid stirring after the mixture boils to prevent crystallization.
Step 3 — Finish and Pour Base
Remove the saucepan from heat and stir in:
- 1 teaspoon vanilla extract
- 2 cups chopped nuts
Mix until evenly combined, then pour the hot candy mixture into the prepared pan. Spread it evenly with a spatula.
Pro Tip: Work quickly — the candy starts to set as it cools. Using a rubber spatula ensures smooth spreading without scraping the sides excessively.
Step 4 — Cool Slightly
Let the candy cool slightly before adding the chocolate topping. Cooling prevents the chocolate from melting too much and ensures a clean layer.
Pro Tip: About 5–10 minutes of cooling is ideal; the candy should still be warm but not hot.
Step 5 — Add the Chocolate Topping
In a microwave-safe bowl, melt 1 1/2 cups chocolate chips in 30-second intervals, stirring after each interval until smooth. Spread the melted chocolate evenly over the candy base.
Pro Tip: Stir the chocolate frequently and avoid overheating to prevent it from seizing. Use a spatula to create a smooth, glossy finish.
Step 6 — Optional Garnish
Sprinkle additional chopped nuts over the melted chocolate for texture and visual appeal.
Pro Tip: Press the nuts lightly into the chocolate so they stick when it sets.
Step 7 — Let Candy Set
Allow the candy to cool completely at room temperature or in the refrigerator. Once set, cut into 24–30 bite-sized pieces.
Pro Tip: For clean cuts, use a sharp knife and wipe it between cuts to prevent chocolate smearing.
Additional Pro Tips for Perfect Oklahoma Nut Candy
- Nut Selection: Pecans, peanuts, or walnuts work best. Toasting nuts lightly enhances flavor.
- Candy Consistency: Soft-ball stage is critical — use a candy thermometer for accuracy.
- Chocolate Quality: High-quality chocolate chips or bars give the best melt and flavor.
- Storage: Store in an airtight container at room temperature or in the fridge for longer shelf life.
- Make Ahead: Can be made a day in advance; flavors meld beautifully overnight.
- Flavor Enhancements: Add a pinch of sea salt to the chocolate topping for a sweet-salty contrast.
- Presentation: Line a decorative tray or box with parchment for gifting — it looks as good as it tastes.
- Temperature Control: Avoid rapid cooling; sudden temperature changes may cause cracks in the chocolate layer.
- Cutting Tips: Use a gentle sawing motion instead of pressing down hard to prevent cracking.
- Custom Variations: Try drizzling white chocolate over the top for extra decoration.
Serving Suggestions — Make Every Bite Special
This Oklahoma Nut Candy is incredibly versatile and perfect for a variety of occasions. Here’s how to serve it to maximize enjoyment and visual appeal:
- Classic Candy Tray: Arrange the cut pieces on a decorative plate or tray, perfect for parties or holiday gatherings.
- Gift Packaging: Wrap in parchment or wax paper and place in a gift box for a thoughtful homemade treat for friends, family, or neighbors.
- Chocolate Lovers’ Delight: Pair with hot cocoa or a creamy latte for a decadent afternoon snack.
- Nutty Indulgence: Add extra toasted nuts on top for crunch and presentation, ideal for entertaining.
- Party Favor: Portion into small mini-candy bags for guests to take home as a sweet memento.
- Holiday Treats: Decorate the top with white chocolate drizzle or edible gold dust for festive occasions.
- After-Dinner Dessert: Serve alongside fresh fruit or whipped cream for a balanced dessert experience.
- Snack Time: Keep bite-sized pieces in an airtight container for easy snacking at home or at work.
- Layered Presentation: Place candy pieces in a glass jar or clear container to showcase the chocolate layer and nut texture.
- Creative Twist: Experiment with different chocolate toppings like dark chocolate, milk chocolate, or caramel drizzle for variety.
Conclusion — Sweet Memories in Every Bite
The Old-Fashioned Oklahoma Nut Candy is more than just a treat; it’s a nostalgic experience that combines buttery fudge, crunchy nuts, and smooth chocolate in one irresistible bite. This candy has stood the test of time because it delivers the perfect balance of flavor, texture, and sweetness.
Whether you’re preparing it for family, friends, or as a homemade gift, this candy is guaranteed to impress. The rich, buttery base melts in your mouth, while the nuts provide satisfying crunch, and the chocolate topping adds a glossy, indulgent finish. It’s a timeless classic that evokes memories of cozy kitchens and shared treats.
By following the detailed steps and pro tips provided, you can achieve professional-quality candy at home without the need for specialized equipment or techniques. Each piece is a labor of love, perfect for gifting, snacking, or enjoying with a cup of tea or coffee.