Ultimate Homemade Cheesy Garlic Breadsticks – Soft, Gooey, and Garlicky
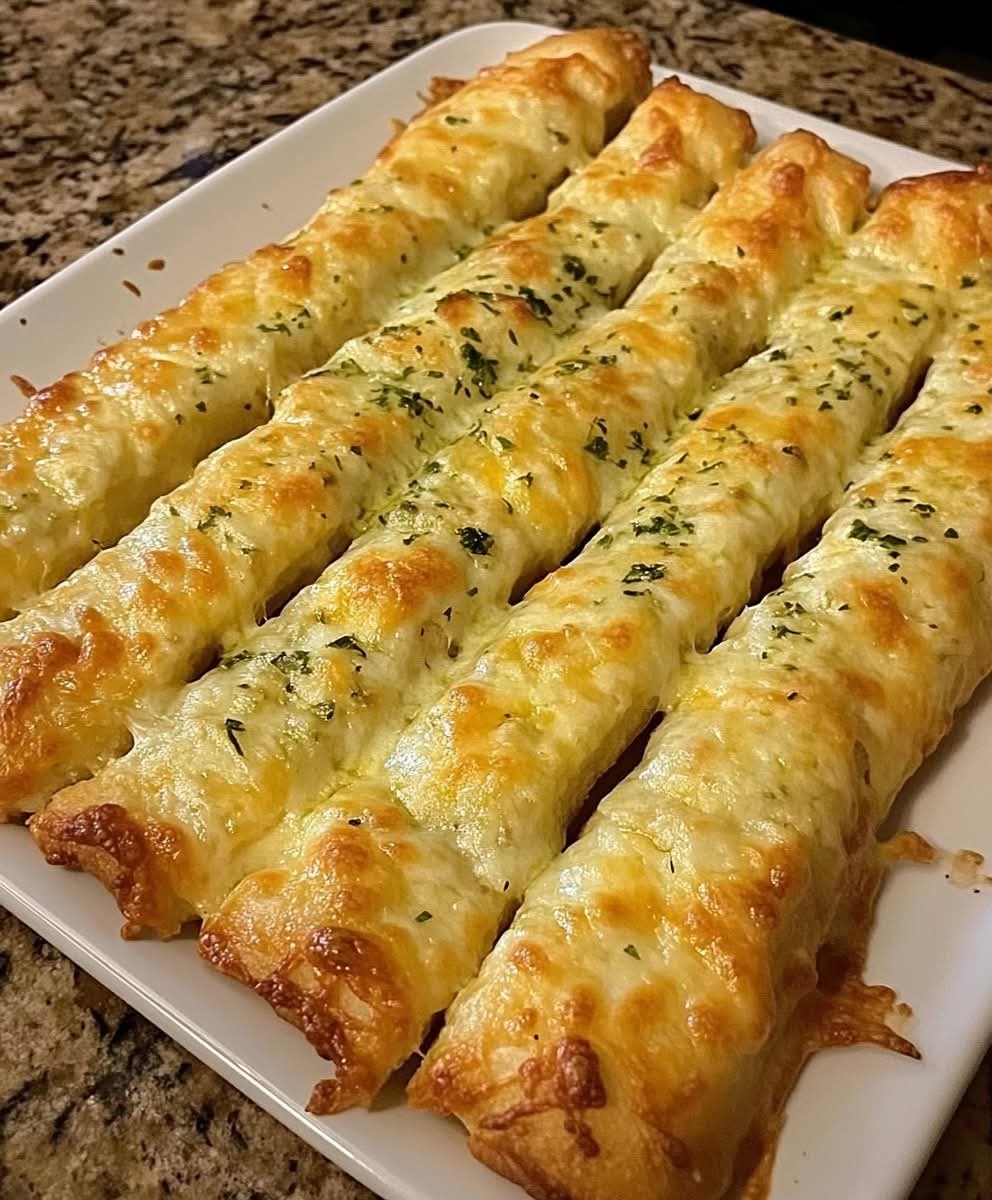
These Homemade Cheesy Garlic Breadsticks take a beloved classic to a whole new level. Imagine soft, warm breadsticks topped with a golden, garlicky butter glaze, melty mozzarella, Parmesan, and herbs. Perfect for pairing with soups, pastas, salads, or enjoying on their own, this detailed guide will cover every aspect of making these breadsticks from start to finish, including preparation, variations, storage, and serving tips.
Why These Breadsticks Are Irresistible
The combination of a soft, pillowy interior, cheesy richness, and aromatic garlic makes these breadsticks irresistible. Using pre-made pizza dough saves time but allows for bakery-quality results. The melted cheese and butter soak into the bread, creating a satisfying texture that is both chewy and slightly crispy on the edges.
“These breadsticks are perfect for every occasion—easy enough for weeknight dinners, but elegant enough for entertaining guests.” – Chef’s Tip
Ingredients & Their Purpose
Dough Base
- 1 (10-ounce) can prepared pizza crust: Provides a soft, elastic base that’s easy to stretch and shape. Pre-made dough ensures consistency and a time-saving shortcut.
Garlic Butter Topping
- 1 tablespoon butter, melted: Adds richness and helps the garlic flavor infuse evenly throughout the bread.
- 1 clove garlic, finely minced: Provides a strong, aromatic flavor. Fresh garlic is preferred for the best taste.
- Optional garlic powder: For an extra layer of garlicky flavor.
Cheese & Herbs
- 1/2 cup mozzarella cheese, grated: Melts into a gooey layer and provides classic cheese pull.
- 1 tablespoon Parmesan cheese: Adds sharpness and a salty finish that balances the mozzarella.
- 1 tablespoon dried basil or Italian seasoning: Enhances aroma and complements garlic flavor.
- Salt & pepper to taste: Elevates all flavors and balances sweetness from the dough.
Kitchen Tools You’ll Need
- Baking sheet or pizza stone
- Parchment paper for easy cleanup
- Pastry brush for spreading butter
- Pizza cutter or sharp knife for slicing
- Mixing bowl
- Grater for mozzarella and Parmesan
- Measuring cups and spoons
- Optional silicone spatula for scraping and spreading toppings
Step-by-Step Instructions
Step 1 – Preheat Oven & Prepare Pan
Preheat your oven to 425°F (220°C). Line a baking sheet with parchment paper for easy cleanup. Optionally, lightly grease the parchment to encourage a golden crust. Preheating the oven ensures even baking from the start.
Step 2 – Prepare the Pizza Dough
Unroll the pizza dough onto a lightly floured surface. Stretch it into a rectangle about 12×8 inches for standard breadsticks. For thicker or thinner breadsticks, adjust accordingly. Ensure an even thickness to promote uniform baking.
Step 3 – Add Garlic Butter Mixture
In a small bowl, combine the melted butter with minced garlic and a pinch of salt. Brush generously over the dough surface. Make sure every corner and edge receives butter for full flavor. Optional: sprinkle a pinch of garlic powder to enhance flavor.
Step 4 – Sprinkle Cheese & Herbs
Evenly distribute mozzarella and Parmesan over the buttered dough. Add dried basil or Italian seasoning and a pinch of black pepper. Press gently to ensure cheese adheres to the dough and doesn’t slide off during baking.
Step 5 – Slice the Breadsticks
Use a pizza cutter or sharp knife to slice the dough into strips about 1–1.5 inches wide. Space them slightly apart on the parchment-lined baking sheet for even baking. Tips: For decorative presentation, twist or braid the strips before baking.
Step 6 – Bake to Perfection
Place the baking sheet in the oven and bake for 12–15 minutes until the breadsticks are golden brown and the cheese is bubbly. Keep an eye near the end to avoid over-browning. Optional: broil for 1–2 minutes for extra crispiness on top.
Step 7 – Serve Warm & Enjoy
Remove from oven, let cool slightly, and serve immediately. Pair with marinara sauce, ranch dressing, or garlic butter dip. These breadsticks are best enjoyed fresh but can also be reheated without losing flavor.
Expert Tips & Tricks
- Use room-temperature dough if possible to make stretching easier.
- Lightly flour your surface, but don’t over-flour to prevent dryness.
- Brush extra butter over breadsticks right after baking for shine and extra richness.
- Try adding fresh herbs like parsley or oregano for additional flavor layers.
- For softer breadsticks, cover with foil for the first half of baking; for crispier edges, bake uncovered.
- Mix cheeses (cheddar, provolone, or Monterey Jack) for varied flavors and textures.
- Roasted garlic or garlic paste can provide a sweet, mellow garlic flavor.
Variations & Creative Twists
- Stuffed Breadsticks: Add a thin layer of ricotta or cream cheese inside each strip before baking.
- Spicy Garlic Breadsticks: Sprinkle crushed red pepper flakes or drizzle sriracha for a kick.
- Herbed Garlic Breadsticks: Mix rosemary, thyme, or chives with butter for aromatic flavors.
- Vegan Version: Use plant-based cheese and vegan butter.
- Cheese Explosion: Add extra shredded cheese on top before baking for a gooey, melty masterpiece.
- Mini Breadsticks: Slice smaller strips for party appetizers or finger foods.
Serving Suggestions
- Pair with tomato soup, minestrone, or creamy pasta dishes.
- Serve as a side for pizza nights or Italian-themed dinners.
- Enjoy with dips: marinara, ranch, pesto, garlic butter, or cheese sauce.
- Perfect snack for game nights, movie nights, or kids’ lunches.
- Serve with a fresh garden salad for a balanced meal.
Storage & Make-Ahead Tips
- Store leftovers in an airtight container at room temperature for 1–2 days.
- Reheat in the oven at 350°F (175°C) for 5–7 minutes to restore crispiness.
- Freeze unbaked breadsticks in a sealed container or wrapped in foil for up to 1 month; bake from frozen with a few extra minutes.
- Freeze baked breadsticks wrapped tightly for up to 2 months; reheat in the oven to regain texture.
- For longer storage, use vacuum-sealed bags to prevent freezer burn.
Why These Breadsticks Are a Crowd Favorite
Soft, cheesy, buttery, and garlicky, these breadsticks satisfy cravings like no other. Their simplicity, paired with incredible flavor and aroma, makes them suitable for weeknight meals, special occasions, or large gatherings. The combination of easy preparation, quick baking, and delicious results ensures they’ll become a family favorite.
Final Thoughts
With this expanded guide, you now have a comprehensive, step-by-step reference for making ultimate Homemade Cheesy Garlic Breadsticks. From ingredient selection to baking techniques, flavor variations, and storage tips, you’ll be able to create breadsticks that are flavorful, golden, and perfectly cheesy every time. Whether paired with soups, pasta, salads, or enjoyed alone, these breadsticks deliver comfort and satisfaction with every bite.