Loaded Cheesy Pocket Tacos – Quick, Delicious, and Family-Friendly
If you’re constantly on the go and need a quick, hearty meal that satisfies both kids and adults, Loaded Cheesy Pocket Tacos are the perfect solution. These pocket tacos combine tender, seasoned ground beef with creamy cheese, savory salsa, and a golden tortilla “pocket” that keeps all the flavors locked in. Each bite delivers a comforting, cheesy, savory experience, making them ideal for busy weeknights, sports practices, or anytime you want a quick, fuss-free meal.
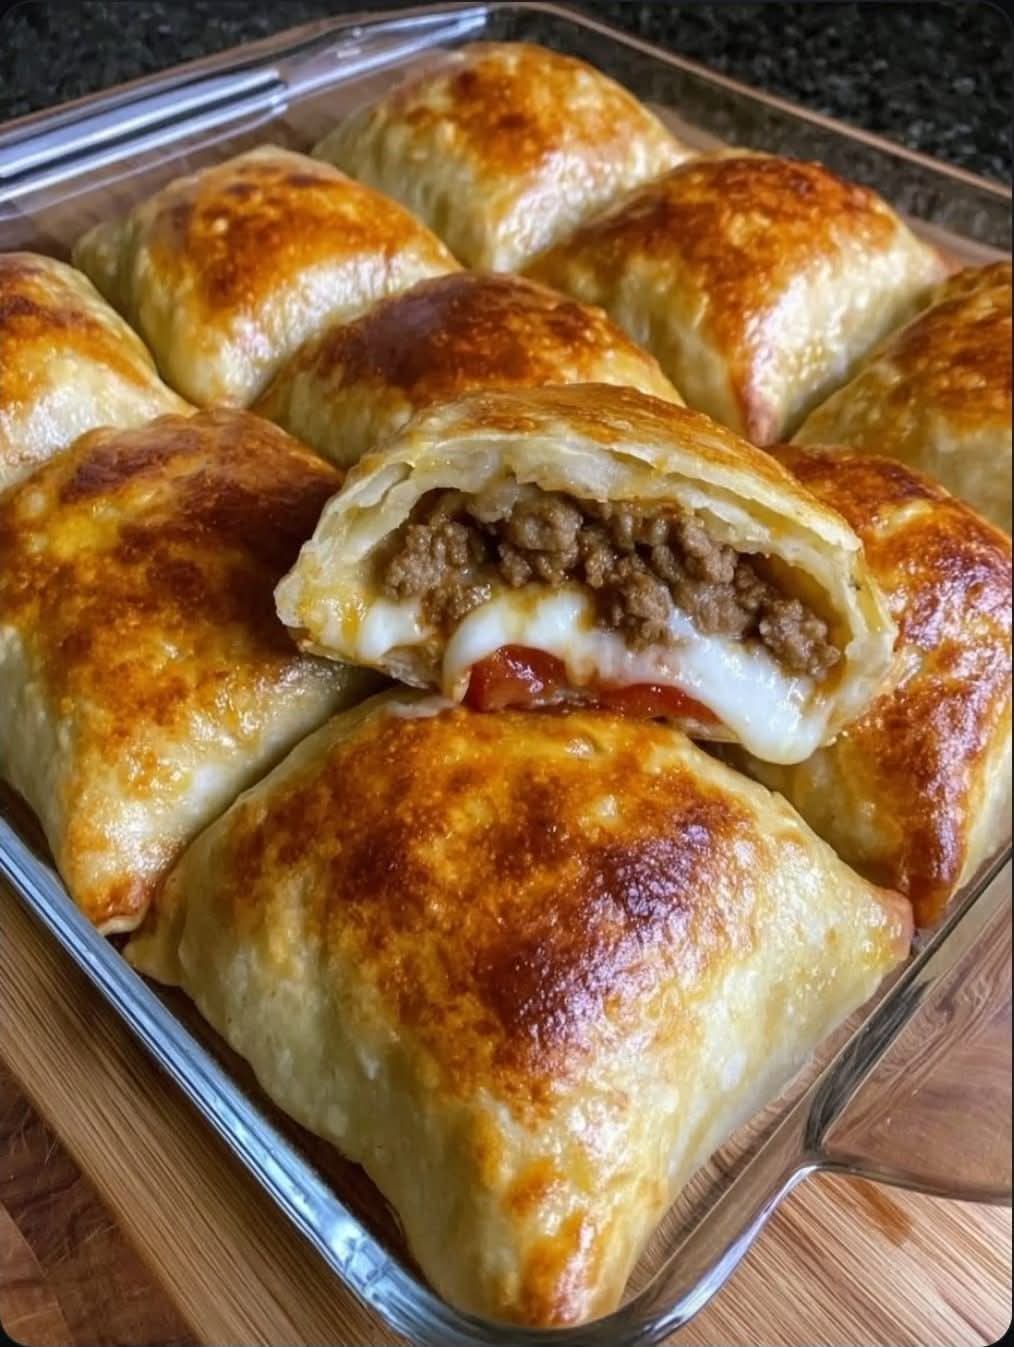
What makes these tacos irresistible is their balance of flavors and textures: rich, seasoned ground beef meets soft, melted cream cheese, while the cheddar adds a sharp, melty punch. When baked or lightly pan-toasted, the tortillas become slightly crisp on the outside while keeping the cheesy, savory filling warm and gooey inside. Whether served with toppings or enjoyed straight from the oven, these tacos are a guaranteed hit.
Ingredients & Their Roles
For the Filling
- 1 pound ground beef: Provides the protein base and savory flavor for the tacos. Lean beef works best to reduce excess grease.
- 1 packet taco seasoning: Instantly infuses the beef with classic taco flavors—chili, cumin, garlic, and paprika—creating a rich, seasoned filling.
- ½ cup salsa: Adds moisture, tanginess, and a touch of heat to the beef mixture.
- 8 ounces cream cheese, softened: Makes the filling creamy, melty, and indulgent, binding the taco mixture together.
- 1 cup shredded cheddar cheese: Adds a sharp, gooey texture and enhances the overall cheesy flavor.
For the Pocket Tacos
- 12 6-inch tortillas: These soft, flexible shells form the “pocket” that holds the cheesy filling. Flour tortillas are preferred for easy folding and baking.
- 2 tablespoons melted butter: Brushed on top of the tacos before baking, the butter adds golden color and enhances flavor.
- Optional toppings: Sour cream, extra salsa, and sliced green onions provide freshness, tang, and texture contrast.
Step-by-Step Instructions – Cooking the Filling
Once you’ve gathered all your ingredients, it’s time to prepare the savory, cheesy filling that makes these Loaded Cheesy Pocket Tacos irresistible. Follow these steps carefully to achieve the perfect balance of flavor, creaminess, and texture.
Step 1: Cook the Ground Beef
- Place a large skillet over medium heat. Add 1 pound of ground beef, breaking it apart with a wooden spoon or spatula.
- Cook the beef until it is fully browned and no pink remains, approximately 6-8 minutes. Stir occasionally to ensure even cooking.
- Drain any excess grease from the skillet. This prevents the tacos from becoming soggy and keeps the filling perfectly creamy once combined with cheese.
Step 2: Season the Beef
- Add the taco seasoning packet directly into the skillet with the cooked beef. Sprinkle evenly and stir well to coat all meat with the seasoning.
- Pour in ½ cup salsa and stir to combine. The salsa adds moisture, tang, and subtle heat to the beef.
- Reduce the heat to low and allow the beef mixture to simmer for 3-4 minutes, letting the flavors meld together perfectly.
Step 3: Incorporate the Cream Cheese
- Cut 8 ounces of softened cream cheese into small cubes to help it melt quickly and evenly.
- Add the cream cheese to the skillet with the seasoned beef. Stir continuously until the cream cheese melts completely, forming a creamy, smooth filling.
- Ensure that the cream cheese is fully incorporated. The mixture should be thick, cheesy, and cohesive enough to hold inside the tortillas without leaking.
Step 4: Add the Cheddar Cheese
- Sprinkle 1 cup shredded cheddar cheese over the beef and cream cheese mixture.
- Gently fold the cheddar into the filling until melted and evenly distributed. The combination of cream cheese and cheddar ensures a rich, gooey texture with every bite.
- Taste the mixture and adjust seasoning if needed. For extra flavor, you can add a pinch of salt or a dash of black pepper.
Pro Tip: For a slightly spicier variation, add ¼ teaspoon of smoked paprika or a few dashes of hot sauce when folding in the cheddar. This enhances the flavor without overpowering the cheesy goodness.
Once the filling is ready, set the skillet aside. Your delicious, creamy taco mixture is now prepared and ready to be loaded into the tortillas in the next step.
Step-by-Step Instructions – Assembling, Baking, and Serving
After preparing the rich and creamy beef and cheese filling, it’s time to assemble your Loaded Cheesy Pocket Tacos and bake them to golden perfection. This step ensures that every bite is warm, cheesy, and packed with flavor.
Step 1: Prepare the Tortillas
- Lay out 12 six-inch tortillas on a clean countertop or cutting board.
- If using flour tortillas, you can slightly warm them in the microwave for 10-15 seconds. This makes them more pliable and less likely to crack when folding.
- For a crispier variation, lightly brush each tortilla with melted butter or spray with nonstick cooking spray.
Step 2: Fill the Tortillas
- Spoon a generous portion of the prepared creamy beef and cheese filling into the center of each tortilla, leaving about 1 inch around the edges.
- Be careful not to overfill. Overstuffed tacos may burst or leak during baking.
- Fold the tortillas into pockets. You can fold them like an envelope (folding both sides in and then the bottom over) or simply fold in half. Press edges gently to seal.
Step 3: Arrange on Baking Sheet
- Preheat your oven to 375°F (190°C) if not already done.
- Place the filled taco pockets seam-side down on a greased or parchment-lined baking sheet. This prevents sticking and ensures easy cleanup.
- Brush the tops of the pockets with a little melted butter to encourage a golden, crispy finish.
- Optional: Sprinkle a small amount of extra shredded cheddar on top for an extra cheesy crust.
Step 4: Bake the Tacos
- Bake in the preheated oven for 12-15 minutes, or until the tortillas are golden brown and slightly crisp.
- The filling should be bubbling slightly, indicating that it’s heated through and the cheese is perfectly melted.
- Remove from oven and let sit for 2-3 minutes. This helps the filling set slightly and prevents the pockets from spilling out when cut or bitten into.
Step 5: Serve and Enjoy
- Transfer the tacos to a serving platter. These Loaded Cheesy Pocket Tacos are best served warm.
- Optional toppings include sour cream, extra salsa, sliced green onions, chopped cilantro, or diced tomatoes to add freshness and color.
- Pair with a simple side salad, Mexican rice, or tortilla chips for a complete, satisfying meal.
Pro Tip: For a meal prep variation, assemble the tacos ahead of time and refrigerate them. When ready to serve, bake directly from the fridge for 15-18 minutes. They stay just as cheesy and flavorful!
These tacos are not only a family favorite, but their golden, cheesy pockets also make them a show-stopping addition to any dinner or potluck. The combination of creamy beef, melted cheddar, and perfectly baked tortillas makes each bite indulgent and comfortin
Tips, Variations, and Troubleshooting for Loaded Cheesy Pocket Tacos
These Loaded Cheesy Pocket Tacos are simple, delicious, and customizable. Whether you’re a beginner cook or an experienced chef, these tips and variations will help you achieve the best results every time.
Pro Tips for Perfect Tacos
- Prevent soggy tortillas: Slightly warming tortillas before filling helps prevent cracking and ensures a soft, pliable texture.
- Seal properly: Press edges with a fork or your fingers to avoid filling spilling during baking.
- Cheese choice: Use sharp cheddar for bold flavor or a blend of cheddar and Monterey Jack for creamy meltiness.
- Bake on parchment: Prevents sticking and makes cleanup effortless.
- Rest after baking: Let tacos rest for 2-3 minutes before serving; this helps the filling set and improves flavor distribution.
- Even baking: Space tacos evenly on the sheet pan to ensure consistent browning and crispiness.
Variations to Try
- Vegetarian Option: Replace beef with sautéed mushrooms, bell peppers, and black beans. Add your favorite seasoning for depth of flavor.
- Spicy Twist: Add diced jalapeños or a dash of cayenne to the filling for a kick of heat.
- Cheese Varieties: Mix mozzarella, pepper jack, or feta with cheddar for unique flavor combinations.
- Wrap in Corn Tortillas: Use corn tortillas for a traditional Mexican flavor profile.
- Freezer-Friendly: Assemble the tacos, wrap individually in foil, and freeze. Bake directly from frozen, adding a few extra minutes to cook time.
- Mini Version: Use smaller tortillas to make bite-sized appetizers perfect for parties or potlucks.
Troubleshooting Common Issues
- Tortillas crack: Warm tortillas slightly before filling or brush with melted butter for flexibility.
- Cheese leaks out: Don’t overfill and ensure edges are sealed tightly.
- Uneven browning: Rotate the baking sheet halfway through cooking for consistent golden color.
- Tacos too soft: Bake an extra 2-3 minutes to crisp edges, or use slightly thicker tortillas.
- Filling too dry: Add a spoonful of salsa or a tablespoon of sour cream to the beef mixture for extra moisture.
FAQs
Q: Can I make these ahead of time?
A: Yes! Assemble the tacos and refrigerate for up to 24 hours. Bake just before serving for fresh, hot pockets.
Q: Can I freeze these tacos?
A: Absolutely. Wrap each taco individually in foil and freeze up to 2 months. Bake from frozen at 375°F (190°C) for 18-20 minutes.
Q: Can I use pre-shredded cheese?
A: Yes, but freshly shredded cheese melts better and prevents clumping.
Q: What dips go well with these tacos?
A: Sour cream, guacamole, salsa, or a creamy chipotle sauce complement the cheesy beef filling perfectly.
Serving Suggestions
- Serve with a side of Mexican rice and refried beans for a complete meal.
- Pair with a fresh garden salad or avocado-lime slaw for a refreshing contrast.
- Perfect for parties: arrange mini tacos on a platter with colorful dipping sauces for a festive presentation.
- For a kid-friendly option, serve with mild cheese and small tortilla sizes for easy handling.
These Loaded Cheesy Pocket Tacos are versatile, quick to prepare, and loved by both kids and adults alike. From weeknight dinners to party appetizers, they deliver creamy, cheesy, and flavorful bites every time.
With these tips, variations, and troubleshooting advice, you can confidently make perfect cheesy taco pockets that impress every time. Whether sticking to the classic version or experimenting with new flavors, these tacos are guaranteed to become a household favorite.