Perfect Hard-Boiled Eggs — Tender, Easy-to-Peel, and Consistently Delicious
Hard-boiled eggs may seem simple, but achieving the perfect texture and easy peeling can be surprisingly tricky.
This Perfect Hard-Boiled Eggs guide walks you through a foolproof method to get tender yolks, firm whites, and smooth shells every time.
Whether you’re preparing a quick breakfast, meal-prepping for the week, or creating elegant salads and appetizers, mastering the hard-boiled egg is an essential kitchen skill.
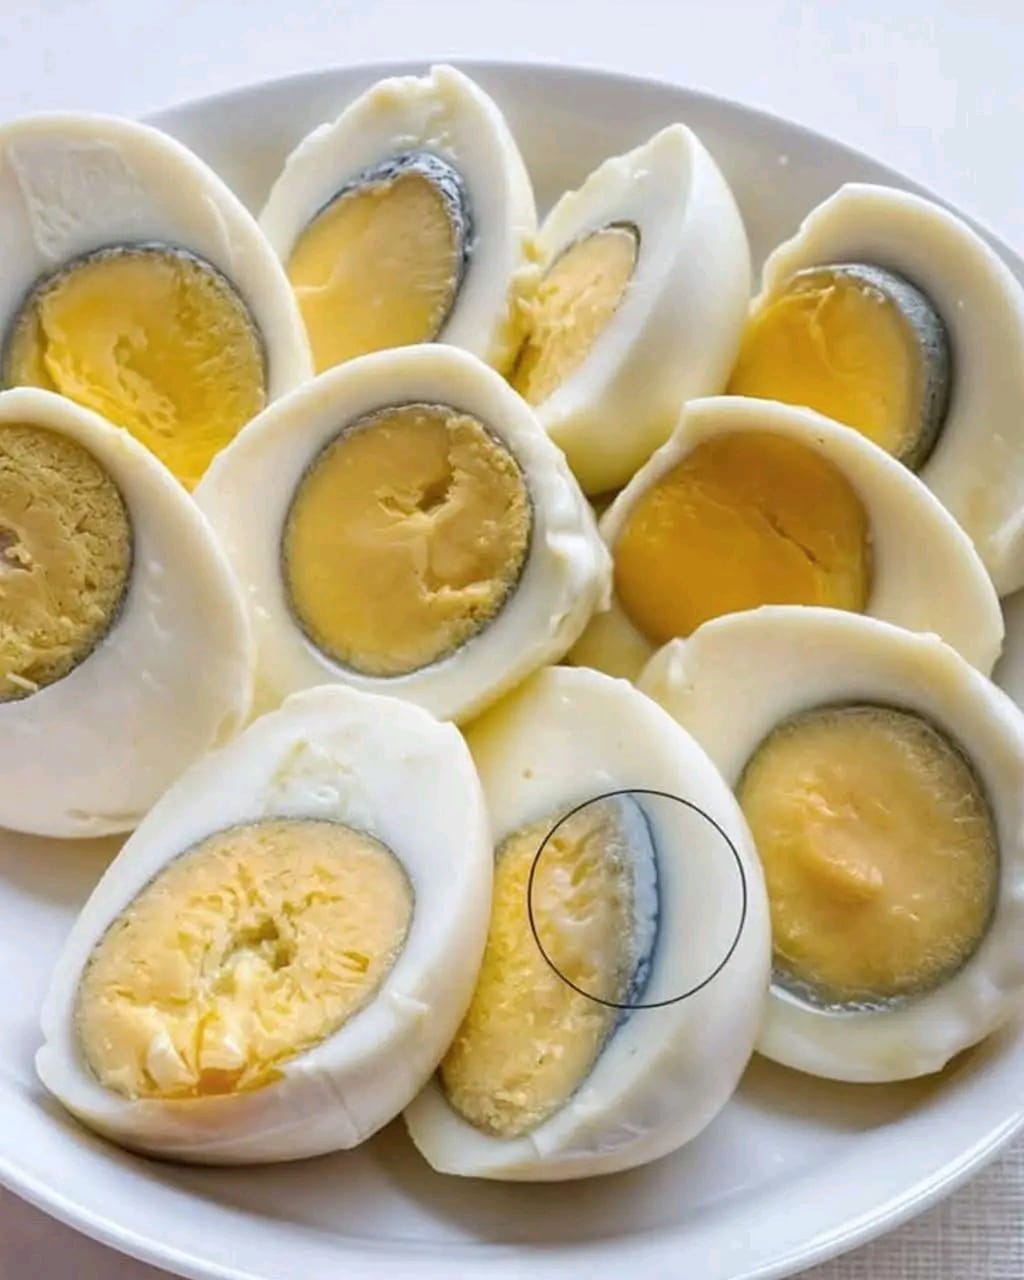
This method ensures no green rings, no rubbery whites, and peeling that’s virtually effortless — even for beginners.
Ingredients for Perfect Hard-Boiled Eggs
Each component contributes to consistent results and easy peeling:
| Ingredient | Quantity | Role in Recipe |
|---|---|---|
| Large eggs | 6 | Fresh but not too fresh — eggs 7–10 days old peel more easily after boiling while maintaining rich flavor and texture. |
| Water | Enough to cover eggs by 1 inch | Ensures even cooking by surrounding the eggs completely with heat. |
| Ice | As needed for ice bath | Stops the cooking immediately, preventing overcooking and green rings, while making peeling effortless. |
Before beginning, arrange your eggs carefully and prepare an ice bath nearby.
This ensures a smooth workflow and consistently perfect results.
With the right ingredients, timing, and cooling technique, you can transform ordinary eggs into a versatile, protein-packed staple that’s tender, flavorful, and easy to peel every time.
Step-by-Step Instructions for Perfect Hard-Boiled Eggs
Achieving the perfect hard-boiled eggs is all about timing, temperature, and proper cooling.
Follow these detailed steps to get tender yolks, firm whites, and shells that peel effortlessly.
-
1. Place Eggs in a Saucepan
Arrange your eggs in a single layer in a saucepan or pot.
Avoid stacking eggs, as uneven placement can lead to inconsistent cooking.Pro Tip: Using a wide saucepan helps the eggs cook evenly without crowding.
-
2. Cover with Cold Water
Pour in enough cold water to submerge the eggs by about 1 inch.
Starting with cold water ensures gradual temperature rise, preventing cracking.Pro Tip: Adding a pinch of salt to the water can help prevent small cracks and make peeling even easier.
-
3. Bring to a Boil
Place the saucepan on high heat and bring the water to a full rolling boil.
Watch carefully to avoid water boiling over. -
4. Turn Off the Heat
Once the water reaches a rolling boil, remove the pan from heat immediately.
Cover with a lid and let the eggs sit in the hot water for 10–12 minutes, depending on yolk preference (10 = slightly creamy, 12 = fully set).Pro Tip: Do not stir or touch the eggs during this time to maintain even cooking.
-
5. Cool in an Ice Bath
Prepare a bowl of ice water and transfer the eggs carefully into it.
Chill for at least 5–10 minutes to halt cooking and make peeling easier.Pro Tip: Ice baths not only stop the cooking process but also prevent the greenish-gray ring caused by sulfur and iron reactions.
-
6. Peel and Store
Crack the eggs gently on a hard surface and peel under running water if needed.
Store peeled eggs in a sealed container with a damp paper towel for up to 5 days.Pro Tip: Batch-cooking several eggs at once saves time and ensures you have ready-to-use protein for the week.
By following these steps, your hard-boiled eggs will consistently come out tender, flavorful, and easy to peel.
Whether enjoyed on their own, in salads, or as a base for deviled eggs, mastering this method elevates this simple staple into a versatile, protein-packed ingredient.
Pro Tips, Serving Ideas & Storage for Perfect Hard-Boiled Eggs
Hard-boiled eggs are a versatile ingredient, perfect for quick meals, snacks, or elegant presentations.
These expert tips and serving suggestions will help you make the most of your perfectly cooked eggs.
1. Pro Tips for Success
- Use slightly older eggs: Eggs that are 7–10 days old peel more easily than very fresh eggs.
- Always use an ice bath: This instantly halts cooking and ensures easy, clean peeling every time.
- Batch cook: Double or triple the recipe to have ready-to-use eggs for snacks, salads, or grab-and-go meals throughout the week.
2. Serving Suggestions
- Slice over avocado toast with chili flakes, sea salt, and cracked pepper.
- Add to Cobb salads, chef salads, or grain bowls for extra protein and flavor.
- Make deviled eggs using Dijon mustard, mayonnaise, paprika, or your favorite fillings.
- Enjoy as-is with a sprinkle of sea salt, cracked black pepper, or a dash of hot sauce.
- Chop and mix into egg salad sandwiches for a creamy, satisfying lunch option.
3. Storage Tips
- Store peeled eggs in a sealed container with a damp paper towel to prevent drying for up to 5 days.
- Unpeeled eggs can stay in the refrigerator for up to 7 days.
- Label containers with cooking dates to keep track of freshness.
- Use chilled eggs directly in recipes or let them come to room temperature before serving, depending on your preference.
4. Creative Customizations
- Infuse hard-boiled eggs with tea or spices for unique flavors.
- Marinate peeled eggs in soy sauce, vinegar, or hot sauce for a tasty twist.
- Combine with roasted vegetables, grains, or herbs for balanced, protein-rich meals.
By applying these tips and creative ideas, your hard-boiled eggs become more than just a simple snack — they transform into versatile, flavorful, and convenient components for a wide variety of meals.
Final Thoughts — Simple, Delicious, and Nutrient-Packed Eggs
Mastering the perfect hard-boiled egg is a simple but transformative kitchen skill.
With this method, you’ll achieve tender, flavorful yolks, firm whites, and shells that peel effortlessly every time — no more frustration or wasted eggs.
Hard-boiled eggs are not only versatile but also packed with high-quality protein, essential vitamins, and minerals.
They’re a quick and nutritious snack, a perfect addition to salads, sandwiches, and deviled eggs, or a convenient meal-prep option for busy days.
Beyond their taste and texture, the ease and reliability of this method make them a dependable staple in any kitchen.
Whether you’re a novice cook or an experienced chef, following this guide ensures consistency, efficiency, and satisfaction every time.
Why You’ll Keep Coming Back to This Method:
- Consistently tender yolks and firm, non-rubbery whites.
- Easy peeling, even for beginners.
- Quick and efficient — perfect for batch cooking.
- Versatile for multiple dishes, snacks, and meal-prep ideas.
- Nutritious, high-protein, and satisfying.
So gather your eggs, water, and ice, and start cooking with confidence.
With minimal effort, you’ll enjoy perfectly cooked, easy-to-peel hard-boiled eggs that enhance every meal and snack.
Embrace the simplicity, savor the flavor, and make these eggs a go-to staple in your kitchen — because a perfect hard-boiled egg is more than just food; it’s a little daily victory.