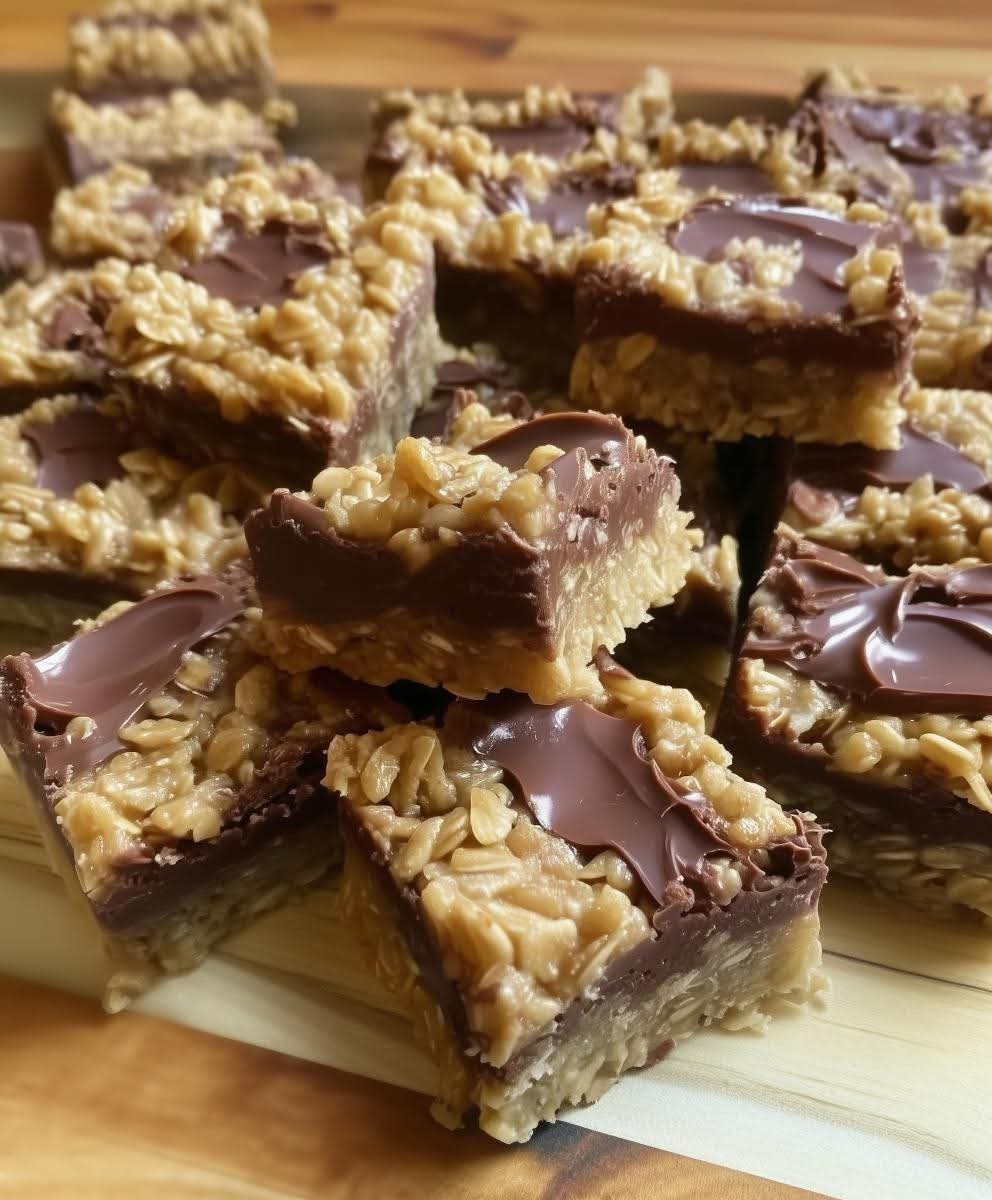
No Bake Chocolate Oat Bars: Sweet, Simple, and Irresistible
Sometimes the best desserts are the easiest to make. These No Bake Chocolate Oat Bars combine the rich flavors of chocolate, butter, and peanut butter with the wholesome texture of oats. Perfect for a quick snack, lunchbox treat, or last-minute dessert, these bars are not only delicious but also fun and simple to prepare. With no oven required, you can enjoy a sweet, chewy, chocolatey delight in just minutes.
Ingredients and Their Role
| Ingredient | Quantity | Role in the Recipe |
|---|---|---|
| Butter | 1 cup | Provides richness, helps bind the oats together, and adds a creamy texture. |
| Packed brown sugar | ½ cup | Adds sweetness and a subtle molasses flavor, balancing the chocolate and peanut butter. |
| Vanilla extract | 1 teaspoon | Enhances overall flavor and adds a sweet, aromatic note. |
| Quick cooking oats | 3 cups | Forms the chewy base and crust, providing texture and heartiness. |
| Semisweet chocolate chips | 1 cup | Creates a luscious chocolate layer that melts slightly into the oats, adding indulgence. |
| Peanut butter | ½ cup | Adds creamy, nutty richness and binds the chocolate layer with the oat base. |
Step 1: Prep Pan and Melt Butter
Grease a 9×9 inch square pan with butter or non-stick spray. In a large saucepan over medium heat, melt 1 cup of butter until fully liquid. This step ensures the butter is evenly incorporated into the oat mixture, creating a cohesive and rich base for the bars.
Step 2: Make the Oat Mixture
Stir in ½ cup packed brown sugar and 1 teaspoon vanilla extract into the melted butter. Once combined, mix in 3 cups quick cooking oats. Cook over low heat for 2–3 minutes, stirring constantly, until the ingredients are well blended and the oats are lightly toasted. This brings out a subtle nutty flavor and ensures the mixture sticks together perfectly.
Step 3: Form the Crust and Reserve Topping
Press half of the oat mixture firmly into the bottom of the prepared pan to form the crust. This layer serves as the sturdy base for the chocolate and peanut butter topping. Reserve the remaining oat mixture for sprinkling over the top later. Pressing firmly ensures the crust holds together when cutting the bars after chilling.
Step 4: Prepare the Chocolate-Peanut Butter Layer
In a medium saucepan over low heat, combine 1 cup semisweet chocolate chips and ½ cup peanut butter. Stir constantly until the chocolate is completely melted and the mixture is smooth and glossy. This layer adds indulgent richness and a creamy, nutty flavor that perfectly complements the chewy oat crust. Make sure the heat is low to prevent the chocolate from burning or seizing.
Step 5: Assemble the Bars
Pour the chocolate-peanut butter mixture evenly over the oat crust, spreading it gently with a spatula. Ensure every part of the crust is covered with the chocolate layer. Then, crumble the remaining oat mixture over the top, pressing lightly to adhere. This creates a delicious, textured topping that balances the smooth chocolate layer underneath.
Step 6: Chill and Set
Place the pan in the refrigerator for at least 2 hours, or until the chocolate layer has fully set. Chilling is crucial to allow the layers to firm up, making the bars easier to cut and giving them the perfect chewy-yet-firm texture.
Pro Tips for Perfect No Bake Chocolate Oat Bars
- Even spreading: Use a spatula to smooth the chocolate-peanut butter layer so each bar has consistent flavor.
- Press gently: Press the topping lightly without flattening the chocolate completely to keep texture contrast.
- Room temperature ingredients: Ensure peanut butter and chocolate chips are at room temperature for smooth melting.
- Cut cleanly: Use a sharp knife warmed under hot water for clean, neat bars.
Serving Suggestions
These No Bake Chocolate Oat Bars are perfect as a snack, dessert, or even a grab-and-go breakfast treat. Serve them chilled or slightly softened at room temperature. Pair with a glass of milk, a hot cup of coffee, or enjoy them on their own. They also make a wonderful addition to lunchboxes, potlucks, or casual gatherings.
- Snack time: Cut into small squares for a quick energy boost.
- Dessert plate: Serve alongside fresh berries or whipped cream for a more indulgent treat.
- Party platter: Arrange in a decorative dish for a visually appealing dessert option.
Variations and Substitutions
One of the best things about these No Bake Chocolate Oat Bars is how easy they are to customize to your taste or dietary needs. Consider these variations:
- Nut-free: Replace peanut butter with sunflower seed butter or almond butter if you prefer a different nut flavor.
- Chocolate options: Use dark chocolate chips or milk chocolate for a different sweetness level.
- Add-ins: Toss in mini marshmallows, shredded coconut, or chopped nuts for extra texture and flavor.
- Sweetener alternatives: Substitute brown sugar with coconut sugar or a sugar-free sweetener to reduce refined sugar.
- Oats swap: Use old-fashioned rolled oats for a chewier texture, or gluten-free oats if needed.
Storage Tips
- Refrigeration: Store the bars in an airtight container in the fridge for up to 1 week. This helps them stay firm and chewy.
- Freezing: Wrap individual bars in plastic wrap and store in a freezer-safe container for up to 3 months. Thaw in the fridge before serving.
- Cutting tips: Chill the bars thoroughly before slicing to prevent crumbling. A warm knife works best for smooth cuts.
Nutritional Benefits and Comfort Factor
While these bars are undeniably indulgent, they also provide some benefits:
- Oats: A great source of fiber and slow-digesting carbohydrates for sustained energy.
- Peanut butter: Adds protein and healthy fats, making the bars more satisfying.
- Chocolate: Contains antioxidants and contributes to a comforting, indulgent flavor.
These bars are not only delicious but also comforting, making them perfect for a cozy snack at home or a quick pick-me-up during busy days.
Final Thoughts on No Bake Chocolate Oat Bars
No Bake Chocolate Oat Bars are the perfect combination of simplicity, flavor, and convenience. With a chewy oat base, rich chocolate-peanut butter layer, and a crumbly oat topping, these bars deliver a satisfying treat that is both indulgent and wholesome. The best part is that they require no oven, making them a quick and easy dessert or snack option for any occasion.
Serving Suggestions
- Chilled: Serve directly from the fridge for a firm, chewy texture.
- Room temperature: Let them sit for 10 minutes after chilling for a softer, melt-in-your-mouth experience.
- With accompaniments: Pair with a glass of milk, coffee, or hot chocolate for an extra comforting treat.
- Presentation: Arrange the bars on a decorative platter or cut them into fun shapes for parties or lunchboxes.
Encouragement to Try
These bars are approachable for cooks of all levels. Follow the step-by-step instructions, customize with your favorite ingredients, and enjoy the satisfaction of a homemade treat. They’re perfect for last-minute dessert needs, a sweet snack, or a fun activity with family and friends. The process is simple, the ingredients are easy to find, and the result is universally loved.
Conclusion
In summary, No Bake Chocolate Oat Bars are a quick, easy, and delicious way to satisfy your sweet tooth. The combination of oats, butter, chocolate, and peanut butter creates a treat that is chewy, rich, and utterly irresistible. Perfect for any occasion, these bars are an ideal addition to your dessert repertoire, offering comfort, convenience, and flavor in every bite.
Tip: Chill thoroughly before slicing for clean cuts, and store extras in an airtight container to maintain freshness and texture. With these simple steps, you’ll have a sweet, crowd-pleasing treat ready in no time.