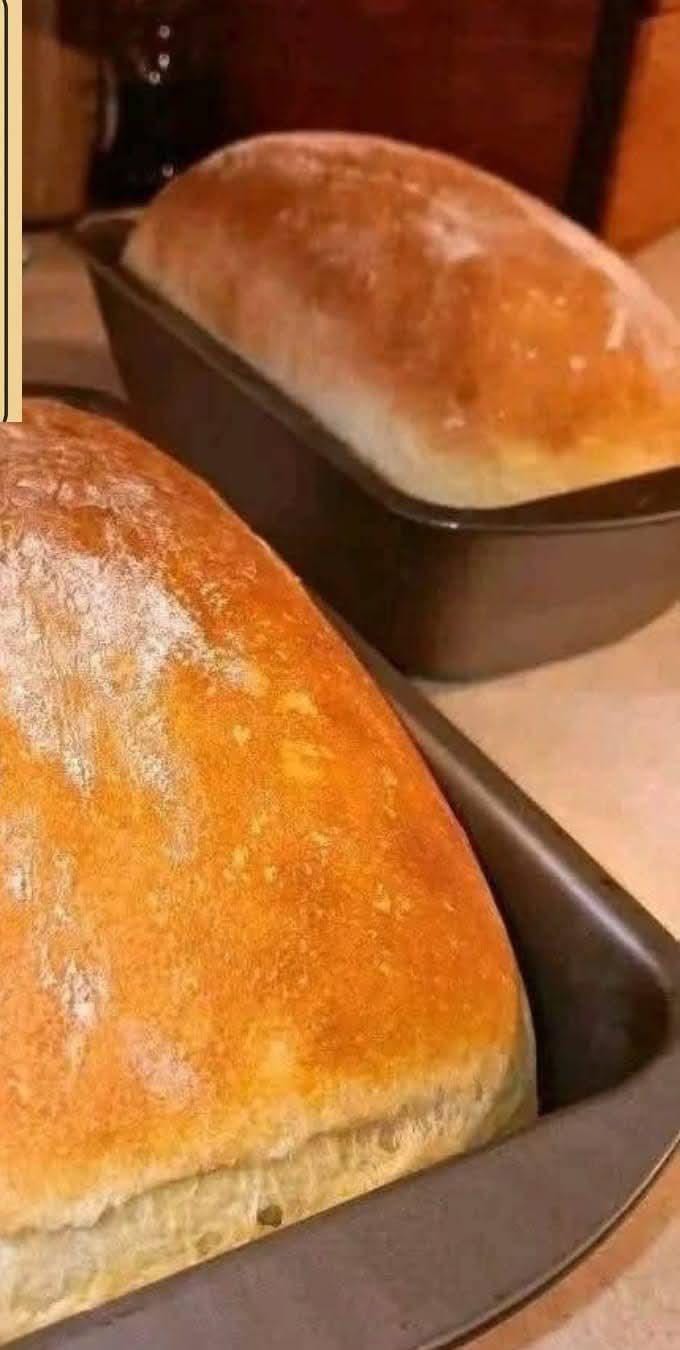
Brilliant No-Knead Bread Recipe — Effortless, Crusty, and Delicious
Imagine the aroma of freshly baked bread filling your kitchen — warm, inviting, and comforting. With this Brilliant No-Knead Bread Recipe, that vision becomes reality with minimal effort. No kneading, no complex techniques — just four simple ingredients, a little patience, and a large oven-safe pot or Dutch oven. Perfect for beginners and seasoned bakers alike, this method produces a crusty, golden loaf with an airy, soft interior that melts in your mouth.
Why No-Knead Bread Is Revolutionary
No-knead bread is more than a convenience; it’s a game-changer in home baking. Traditional bread requires kneading to develop gluten, which gives structure and chewiness. However, with a slow, long fermentation, gluten develops naturally over time, eliminating the need for kneading. This method allows even novice bakers to achieve bakery-quality bread without the intimidation factor.
Originating in Europe, no-knead techniques have been embraced worldwide, popularized by chefs who wanted flavorful bread with minimal hands-on effort. The method relies on time rather than muscle, letting the dough rest and ferment slowly, developing deep flavors and an open, airy crumb.
Why You’ll Love This No-Knead Bread
- Only 4 simple ingredients
- No kneading required
- Minimal hands-on time — the dough does the work for you
- Perfectly crusty outside with a soft, fluffy inside
- Ideal for sandwiches, soups, toast, or enjoying plain with butter
- Beginner-friendly yet satisfying for experienced bakers
Ingredients
| Ingredient | Notes |
|---|---|
| 3 ½ cups all-purpose flour | Provides structure for the bread; bread flour can be used for chewier texture |
| 1 ¼ teaspoons active dry yeast | Essential for dough rising and flavor development |
| 1 ½ teaspoons salt | Enhances flavor and balances yeast activity |
| 1 ½ cups warm water (110°F/45°C) | Hydrates the dough and activates yeast; ensure it’s warm, not hot |
Step-by-Step Instructions
Step 1: Make the Dough
- In a large mixing bowl, whisk together the flour, yeast, and salt until well combined.
- Pour in the warm water and stir with a wooden spoon or spatula until a sticky, shaggy dough forms. The dough will appear loose and wet — this is normal.
- Cover the bowl with plastic wrap or a clean kitchen towel and let it rest at room temperature for 12–18 hours. During this time, the dough slowly ferments, developing flavor and texture.
Step 2: Observe Fermentation
After resting, the dough should be bubbly, slightly risen, and full of small air pockets. The long fermentation creates a rich, complex flavor, similar to artisan bread.
Step 3: Shape the Dough
- Lightly flour a clean surface and gently scrape the dough onto it.
- Fold the dough over itself once or twice to create a loose shape — no heavy kneading required.
- Let the dough rest for 30–60 minutes while preheating the oven. This allows the dough to relax and hold its shape better.
Step 4: Preheat the Oven
- Place a Dutch oven or heavy lidded pot in the oven and preheat to 450°F (232°C) for at least 30 minutes. A hot pot is essential for creating steam, which forms the crust.
Step 5: Bake the Bread
- Carefully transfer the dough into the preheated pot. You can use parchment paper to avoid sticking.
- Cover the pot and bake for 30 minutes. This traps steam, which helps the bread expand and develop a crisp crust.
- Remove the lid and bake for another 15–20 minutes until the crust is deep golden brown.
- Transfer the bread to a wire rack to cool completely before slicing.
Pro Tips for Perfect Bread
- Use a kitchen scale for precise measurements — slight differences in flour weight can affect texture.
- Don’t rush fermentation; the slow rise develops flavor and a light, airy crumb.
- For extra crisp crust, sprinkle a few ice cubes into the oven or place a pan of water to generate steam.
- Use high-quality flour for better gluten structure and flavor.
- Let bread cool completely before slicing to prevent gummy interior.
- Experiment with different baking vessels — cast iron pots, clay baker, or oven-safe Dutch ovens work well.
- For added flavor, fold in herbs, garlic, or cheese before shaping.
- Dust the top with flour or seeds before baking for an artisan look.
Variations and Flavor Twists
- Herb Bread: Add rosemary, thyme, oregano, or basil to the dough.
- Cheese Bread: Fold in shredded cheddar, parmesan, or mozzarella before baking.
- Whole Wheat or Spelt: Substitute part of the flour for a nutty, wholesome flavor.
- Seeded Loaf: Sprinkle sesame, sunflower, or poppy seeds on top.
- Sweet Bread: Add honey, raisins, or dried cranberries for a lightly sweet loaf.
- Garlic Bread: Mix minced garlic or garlic powder into the dough.
- Multi-Grain: Combine oat flour, rye flour, or millet for a complex flavor and texture.
Storage & Reheating
- Store bread in a paper bag or wrapped in a kitchen towel to maintain crust.
- Keep at room temperature for 2–3 days; avoid plastic bags as they soften the crust.
- Freeze slices or whole loaf for up to 3 months; thaw at room temperature before reheating.
- Reheat slices in a 350°F (175°C) oven for 5–10 minutes for a fresh-baked taste.
- Revive stale bread by sprinkling water on top and baking at 350°F for 5 minutes.
FAQ
- Can I use instant yeast? Yes, slightly reduce the amount and mix directly with flour.
- Do I need a Dutch oven? No, a heavy pot or baking sheet with steam will work.
- Why is the dough sticky? It’s normal — sticky dough yields a light, airy crumb.
- Can I make multiple small loaves? Yes, divide the dough and adjust baking time slightly.
- Is no-knead bread suitable for sandwiches? Absolutely, slice thick or thin.
- Can I add fruits or nuts? Yes, fold in small amounts before baking.
- Why does long fermentation help? It develops gluten naturally and deepens flavor.
- Can I make this bread vegan? Traditional recipe uses flour, yeast, water, and salt — yes, vegan-friendly!
- How can I get a crispy crust? Bake covered first, uncover for final 15–20 minutes; use steam for extra crunch.
- What flour works best? All-purpose is fine; bread flour gives chewier texture.
- Can I double the recipe? Yes, ensure the container is large enough for fermentation.
- Why let the bread cool before slicing? Cooling sets the crumb and prevents gummy interior.
- Can I use gluten-free flour? Requires testing; may need xanthan gum or other binder.
- How do I prevent burning? Keep an eye during the last 10 minutes; adjust oven rack if needed.
- Can I bake without parchment paper? Yes, but lightly oil the pot to prevent sticking.