Coconut Chewies — Browned-Butter Coconut Bars
Chewy, caramel notes from browned butter, and a cloud of sweetened coconut — a bar that comforts the heart and delights the tastebuds.
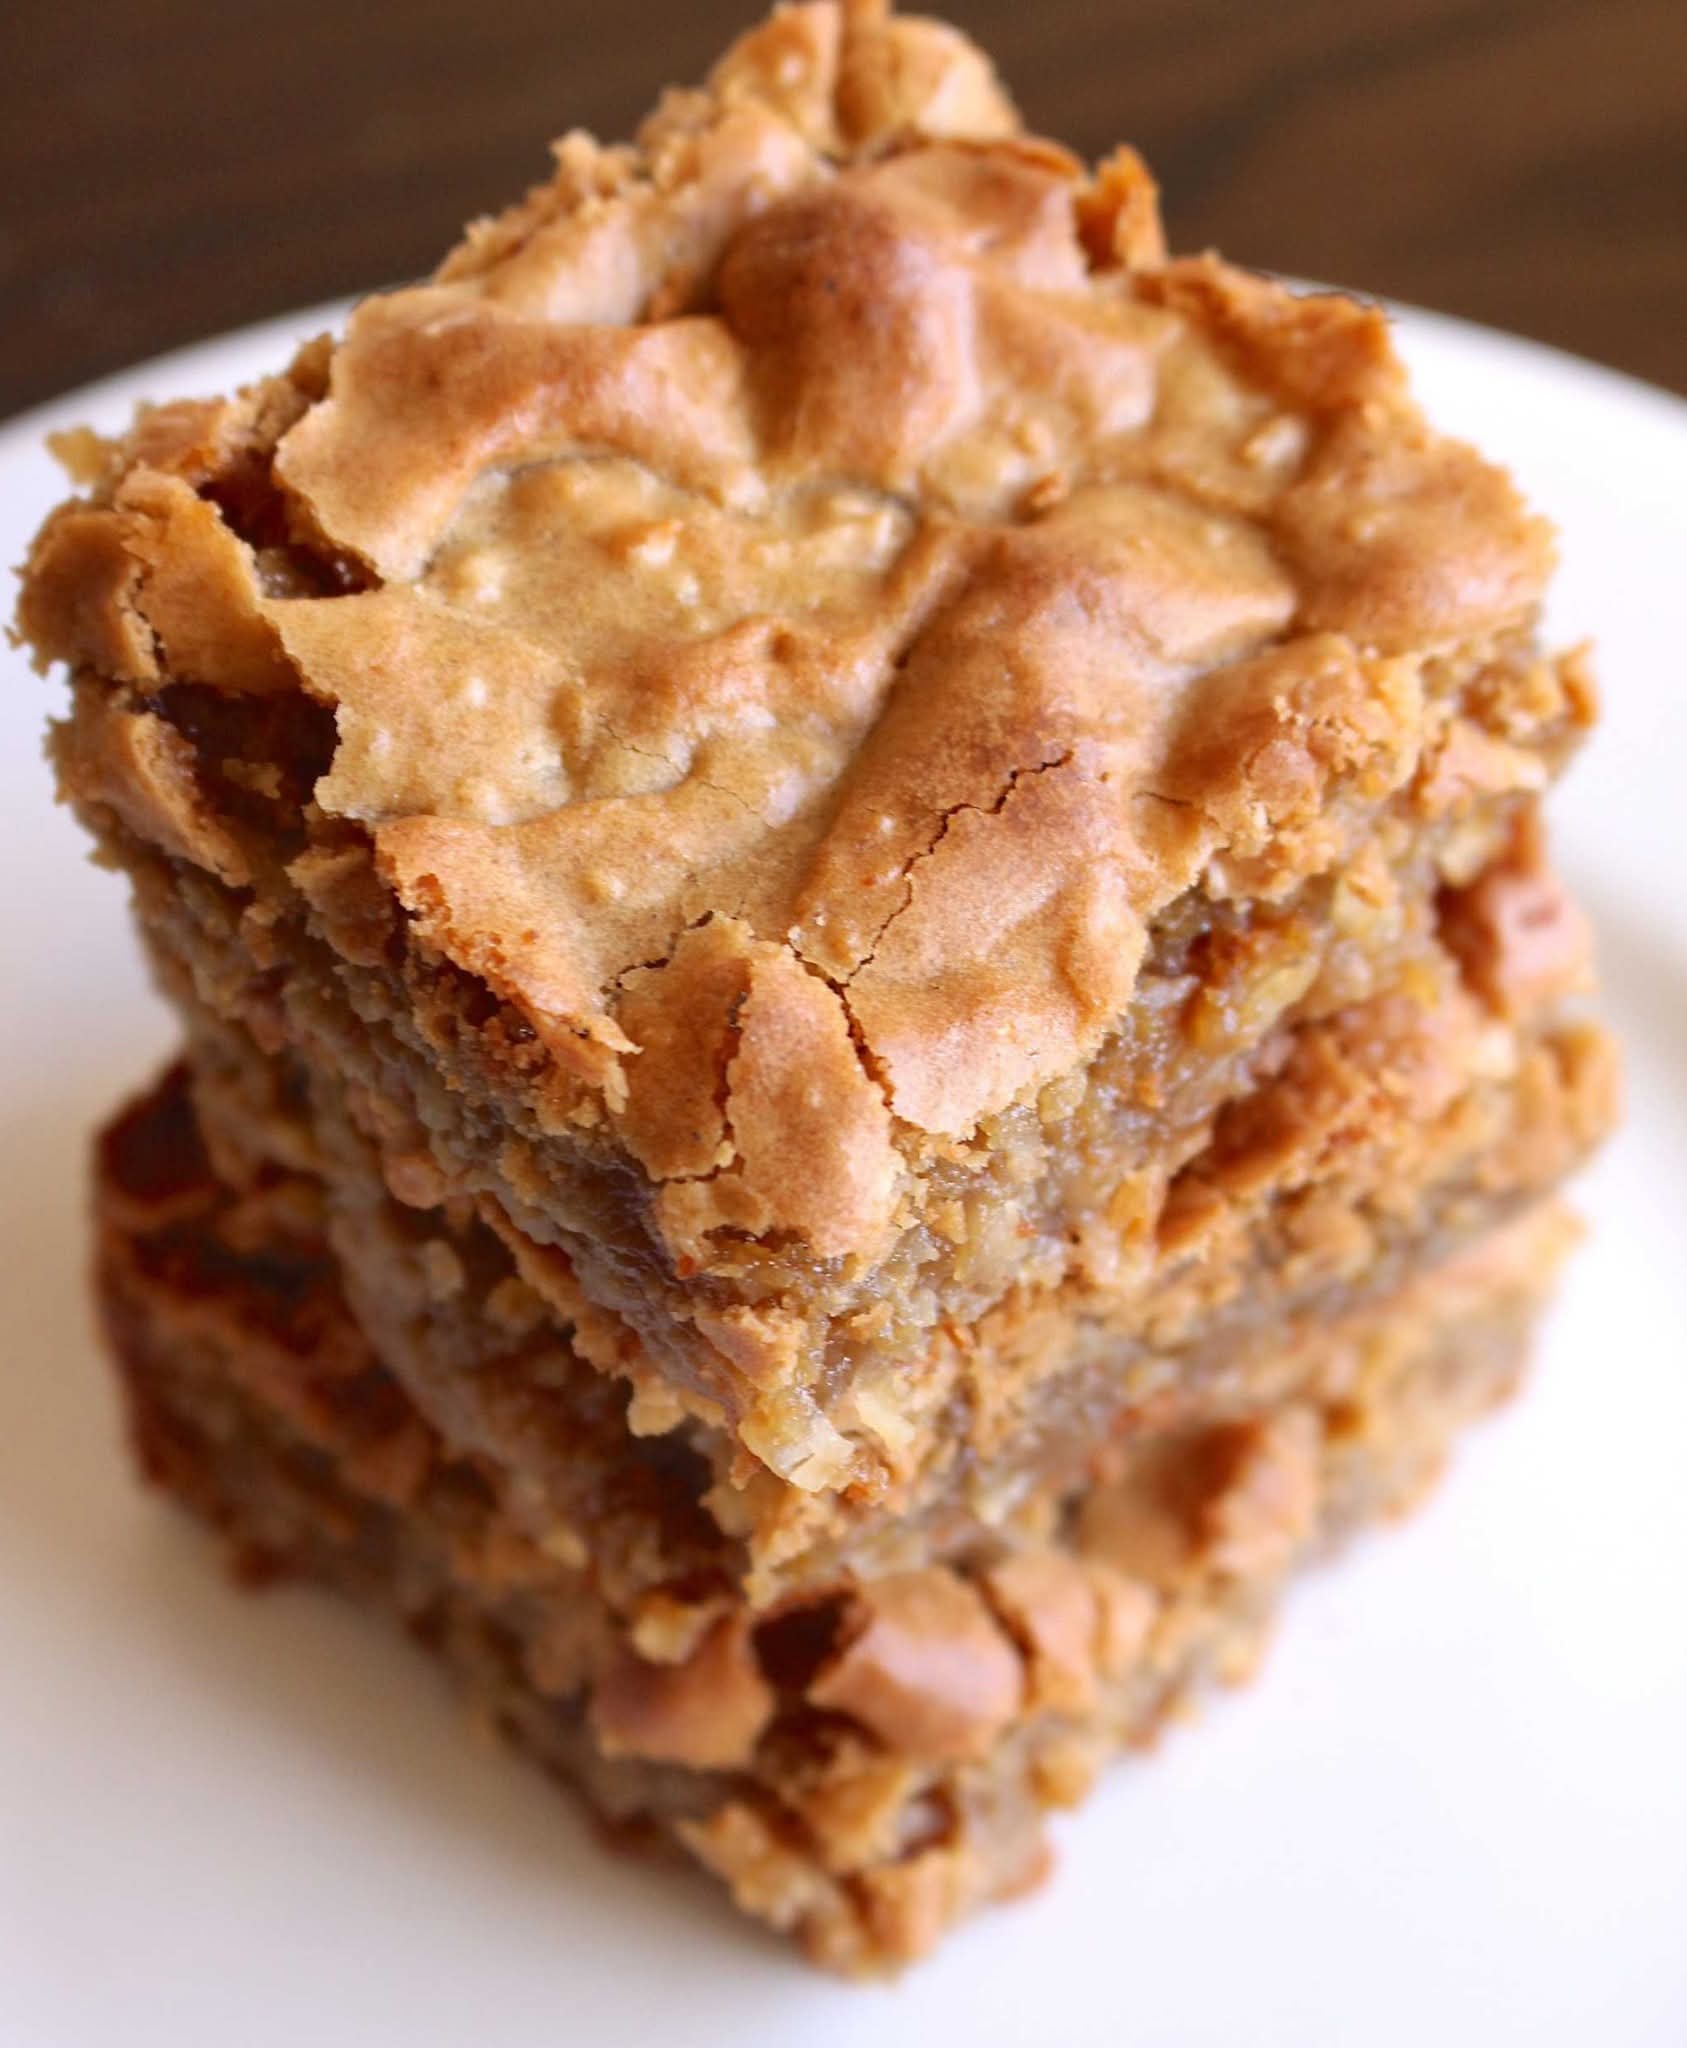
Some desserts feel like sunshine in hand — a sticky sweet comfort that makes you slow down and smile. These Coconut Chewies are one of those recipes. With browned butter lending a deep, toasty caramel note and sweetened shredded coconut for the chew, they’re equal parts decadent and nostalgic. They slice into warm, slightly gooey bars that become perfectly chewy as they cool — the sort of treat you’ll find yourself reaching for again and again.
Why These Bars Are Special
What makes these Coconut Chewies different from an ordinary coconut bar is the simple magic of browned butter. Browning butter transforms it: the milk solids caramelize and the whole kitchen fills with a nutty aroma that hints at toffee. When combined with brown sugar, eggs, and a generous amount of sweetened coconut, you get bars that are rich, chewy, and impossibly comforting.
Ingredients
For the Coconut Chewies
- ½ cup (1 stick) unsalted butter
- 2 cups packed brown sugar (light or dark both work)
- 2 large eggs, room temperature
- 2 teaspoons vanilla extract
- 1½ cups all-purpose flour
- 1 teaspoon baking powder
- 1 teaspoon salt (kosher or fine)
- 1½ cups shredded sweetened coconut
Step-by-Step Preparation
1. Prep & Preheat
- Preheat your oven to 350°F (175°C). Grease an 8×8-inch baking dish with butter or line it with parchment paper, leaving a little overhang for easy removal.
2. Brown the Butter
- Place the ½ cup butter in a medium saucepan over medium–high heat. As the butter melts, swirl the pan gently (or stir occasionally) to encourage even browning. The butter will foam, then the foam will subside, and you will see golden brown specks form at the bottom and smell a warm, nutty aroma. This usually takes 4–6 minutes. Watch closely — browned butter can go from perfect to burnt quickly.
- Once the butter turns a rich amber and smells toasted, remove from heat and let it cool just until warm (not piping hot).
3. Combine Wet Ingredients
- Pour the warm browned butter into a large mixing bowl. Stir in the brown sugar until fully incorporated. Add the eggs and vanilla, and beat gently until the mixture is smooth and glossy.
4. Add Dry Ingredients
- Whisk together the flour, baking powder, and salt in a separate bowl. Add the dry mixture to the wet mixture and stir until just combined — do not overmix. The batter will be thick.
5. Fold in Coconut & Bake
- Fold the shredded sweetened coconut into the batter until evenly distributed. Scrape the batter into the prepared 8×8 pan and smooth the top with a spatula.
- Bake for 40–45 minutes. For the last 10 minutes of baking, you can cover the pan loosely with foil to prevent excessive browning on top (if your oven runs hot). You’re looking for a top that’s set and lightly golden — a toothpick inserted into the center should come out with a few moist crumbs but not raw batter.
6. Cool & Slice
- Remove from the oven and let the bars cool completely in the pan on a wire rack. Cooling fully is important — the bars firm up and reach that perfect chewy texture as they cool.
- When cool, lift the bars out using the parchment overhang (if used) and slice into 16 squares, or larger pieces if you prefer.
- Brown the butter with attention: keep the heat moderate and swirl the pan — once you smell the toasted aroma and see amber flecks, it’s done.
- Don’t overbake: slightly underbaked centers yield chewy bars; they continue to set as they cool.
- Room temperature eggs: help the batter emulsify smoothly. If you forgot to set them out, pop them in warm (not hot) water for 5–7 minutes.
- Make it nutty: fold in ½ cup toasted pecans or almonds for extra texture and flavor.
Variations & Flavor Twists
These bars are a lovely canvas for small indulgences — here are some of my favorite variations:
- Chocolate Drizzle: Melt ½ cup dark or milk chocolate and drizzle over cooled bars. Let the chocolate set before slicing.
- Tropical Boost: Add ¼ cup finely chopped dried pineapple or mango for a sunny tang.
- Lime & Coconut: Fold in 1 teaspoon lime zest and serve with a dusting of powdered sugar for bright contrast.
- Salted Caramel Finish: Warm a few tablespoons of store-bought or homemade caramel and finish each square with a tiny pinch of flaky sea salt.
- Vegan-ish Swap: Use vegan butter and 2 flax eggs (2 tbsp flaxseed meal + 6 tbsp water) — texture will be slightly different but still delicious.
Storage & Make-Ahead
These Coconut Chewies keep beautifully:
- Room temperature: Store in an airtight container for up to 2 days.
- Refrigerator: Keep covered for up to 7 days — bring to room temperature before serving for the best chew.
- Freezer: Wrap individual bars tightly in plastic, then foil, and freeze up to 2 months. Thaw in the refrigerator or at room temperature.
Serving Suggestions — Little Moments to Savor
These bars are perfect with a steaming cup of coffee or a delicate cup of tea. Serve them as:
- A small sweet to finish a weeknight dinner
- A treat in an afternoon picnic basket alongside fruit and savory finger foods
- A homemade gift — wrap a few in parchment and tie with twine for neighbors and friends
A Little Story — The First Time I Browed Butter for These
I’ll never forget the first time I browned butter for a batch of these bars. It was an ordinary weekday evening; rain tapped the windows and my son had finished homework. I browned the butter slowly, and the kitchen filled with the most comforting scent — like toasted sugar and warm cookie dough. When I added the brown sugar, the batter gleamed like a promise. We ate them with our palms sticky and the quiet joy that comes from simple pleasures. It’s one of my favorite kitchen memories.
Frequently Asked Questions
- Q: Can I use unsweetened coconut? A: Yes — but these bars will be less sweet and you may want to add 2–3 tablespoons sugar or a spoonful of sweetened condensed milk to maintain chewiness.
- Q: My bars cracked on top — why? A: A slight crack is normal and adds rustic charm. Overbaking can increase cracking; remove when center has moist crumbs.
- Q: Can I make them gluten-free? A: Swap the all-purpose flour for a 1:1 gluten-free baking flour blend and they should work well; texture may vary slightly.
Parting Thoughts
These Coconut Chewies are the sort of recipe that becomes a family favorite — simple, forgiving, and deeply satisfying. They’re the hands-on dessert that asks for attention at the browned-butter stage and then rewards you with warm, chewy squares that taste like comfort itself. Make a pan for company, for a rainy afternoon, or just because — and savor the small peace that follows the first bite.