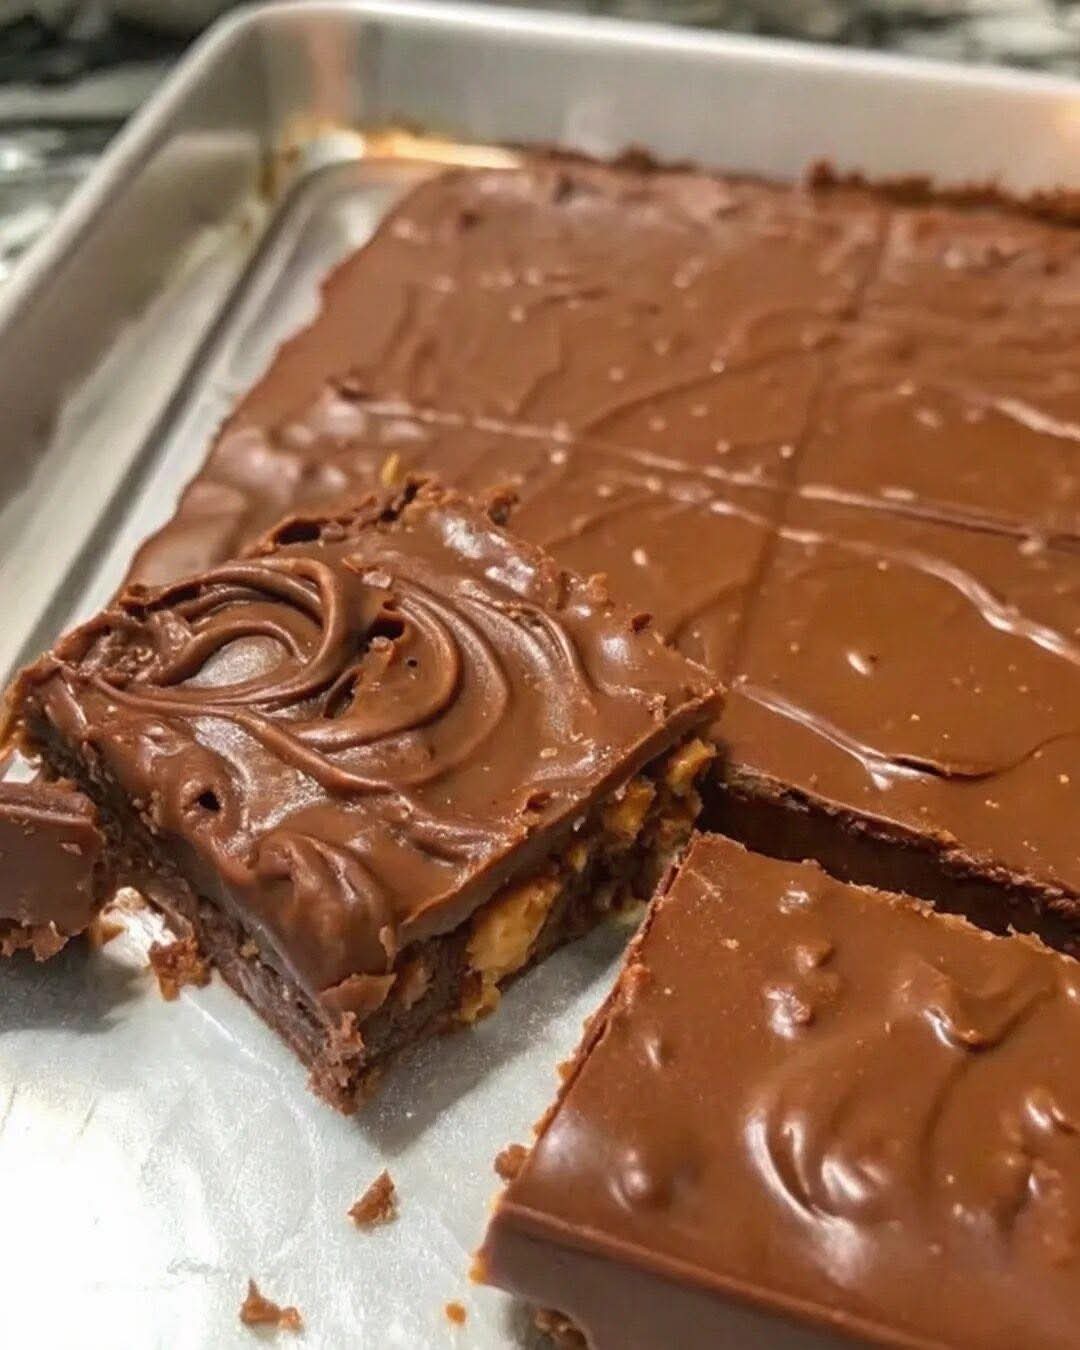
My Mom’s Fudge — Creamy, Rich & Irresistible Chocolate Fudge
If a single bite could teleport you back to childhood, then My Mom’s Fudge is that magical passport. This old-fashioned, stovetop fudge is glossy, deeply chocolatey, and has that melt-in-your-mouth texture we all secretly chase. It’s the sort of candy that fills the house with warm, comforting aromas, brings people to the kitchen, and disappears from the cookie tin faster than you can say “seconds.”
Made with simple pantry ingredients—butter, sugar, evaporated milk, chocolate, marshmallow fluff, and vanilla—this recipe is reliably forgiving and wonderfully nostalgic. Below you’ll find the full HTML-ready recipe: ingredient science, detailed step-by-step method, pro tips that really matter, fun variations, serving ideas, and storage instructions so your fudge stays perfect.
Ingredients & Their Roles
Makes about a 8×8 pan (about 36 small squares)
- ½ cup (1 stick) unsalted butter — Adds richness and a silky mouthfeel; fat helps carry chocolate flavor and prevents the candy from being grainy.
- 2 cups granulated sugar — Provides sweetness and structure. When cooked with milk, it creates the dissolved-sugar matrix that sets into fudge.
- ⅔ cup evaporated milk — Concentrated milk that adds creaminess and reduces water content (helps prevent graininess).
- 1¾ cups semi-sweet chocolate chips — Main chocolate flavor; semi-sweet balances sweetness and cocoa intensity.
- 7 ounces marshmallow fluff — Important: gives lightness, prevents crystallization and contributes to smooth texture.
- 1 tablespoon vanilla extract — Finishes and rounds the chocolate, adding aromatic depth.
- Optional: 1 cup chopped toasted walnuts or pecans — Adds crunchy contrast that many people love in traditional fudge.
Tools You’ll Need
- Heavy-bottomed saucepan (2–3 qt) — minimizes hot spots and scorching.
- Wooden spoon or heatproof spatula — for stirring.
- 8×8 inch square pan (or 9×9) — lined with foil or parchment for easy removal.
- Candy or instant-read thermometer (optional) — useful if you want to check temperature (soft-ball stage ~234–240°F / 112–116°C).
- Large mixing bowl — for melting in chocolate and combining ingredients off heat.
Tip: lining the pan with foil/parchment and leaving an overhang makes lifting and slicing much easier.
Step-by-Step Instructions
Step 1 — Prep
- Line an 8×8 inch pan with foil or parchment, leaving an overhang for easy lifting. Lightly butter or spray the liner.
- Measure all ingredients so everything is ready — this recipe comes together quickly once you reach the boiling stage.
Step 2 — Combine & Bring to a Rolling Boil
- In a heavy-bottomed saucepan, combine butter, sugar, and evaporated milk.
- Place over medium-high heat and stir constantly until the butter melts and the mixture comes to a full rolling boil — a boil that won’t stop bubbling when stirred.
Step 3 — Boil Exactly 5 Minutes
- Once at a full boil, reduce heat slightly to maintain a steady rolling boil and continue cooking for exactly 5 minutes. Stir occasionally to prevent sticking and scorching. (If using a thermometer, this is around the soft-ball range: ~234–240°F / 112–116°C.)
- Timing is important — undercooking can mean a too-soft fudge; overcooking can make it grainy or too firm.
Step 4 — Remove from Heat & Melt Chocolate
- Remove the pan from heat immediately after 5 minutes. Add the semi-sweet chocolate chips and stir vigorously until all chips are melted and the mixture is smooth.
- If any lumps remain, give it a minute off the heat — the residual warmth finishes the melting.
Step 5 — Add Marshmallow Fluff & Vanilla
- Stir in the marshmallow fluff until fully incorporated — this lightens the texture and reduces grittiness. Finish with vanilla extract.
- If you’re adding nuts, fold them in now.
Step 6 — Pour & Set
- Immediately pour the warm fudge into the prepared pan and smooth the top with a spatula.
- Let cool at room temperature for 30–60 minutes, then refrigerate until fully set (2–4 hours).
- Lift the fudge using the liner overhang and cut into small squares with a sharp knife. For cleaner cuts, warm the knife under hot water, dry it, then slice.
Pro Tips for Perfect, Non-Grainy Fudge
- Use a heavy pot: Thin pots cause hot spots and scorching, which leads to grainy texture.
- Precise boil time: Five minutes at a steady rolling boil is the classic rule for this recipe — set a timer.
- Stirring technique: Stir steadily but don’t over-agitate while cooling — vigorous stirring during cooling can encourage crystal formation. Add marshmallow fluff to help prevent it.
- Thermometer users: If you prefer temperature cues, soft-ball stage (234–240°F) is a good target.
- Chocolate quality: Good-quality chips or chopped bars melt more smoothly and give a cleaner chocolate flavor.
- Don’t rush cooling: Let fudge cool partially at room temp before chilling — sudden cooling can sometimes affect texture.
Delicious Variations & Add-Ins
- Nutty Classic: Fold in 1 cup toasted pecans or walnuts for crunch and Southern charm.
- Peanut Butter Swirl: Drop teaspoonfuls of warmed peanut butter over the glossy fudge and swirl with a knife.
- Mint Chocolate: Swap ½ cup of chips for dark chocolate and add ½ tsp peppermint extract.
- Salted Chocolate: Sprinkle flaky sea salt on top before the fudge fully sets for a salty-sweet finish.
- Chocolate-Orange: Add 1 tsp orange zest and use a portion of dark chocolate for a bright, grown-up flavor.
- Spiked for Adults: Stir in 1–2 tbsp bourbon or rum after removing from heat (don’t boil with alcohol).
Serving Suggestions & Gift Ideas
- Cut into small bite-sized squares — one small piece is very rich and satisfying.
- Package in festive boxes or tin lined with parchment for holiday gifts.
- Serve alongside coffee, espresso, or hot cocoa for an indulgent pairing.
- Build a candy platter with this fudge, salted caramels, and chocolate truffles for parties.
Storage, Freezing & Make-Ahead
- Refrigerator: Store in an airtight container, layered with parchment, for up to 2 weeks.
- Freezer: Wrap individual squares in parchment and foil, freeze up to 3 months. Thaw in the refrigerator before serving.
- Make-ahead: Fudge can be made several days ahead; flavor often deepens after 24 hours.
Quick Nutrition Estimate (per small square)
Approximate values — will vary by exact ingredients and portion size:
- Calories: ~120–160
- Fat: ~6–10 g
- Carbohydrates: ~15–20 g
- Protein: ~1–2 g
To lighten: reduce sugar slightly, use a higher cocoa chocolate with less sugar, or make smaller squares.
Final Notes — A Recipe That Feels Like Home
There’s a reason recipes like My Mom’s Fudge get titled with family ownership — they carry memory, ritual, and love. This fudge is straightforward, delightfully retro, and endlessly tweakable. Follow the steps carefully, respect the boil time, and you’ll have glossy, nostalgic fudge that invites second helpings and holiday hugs.
If you try any variation (salted, nutty, spiked), tell me which one became your family’s favorite — I love hearing about personal twists on classic recipes.