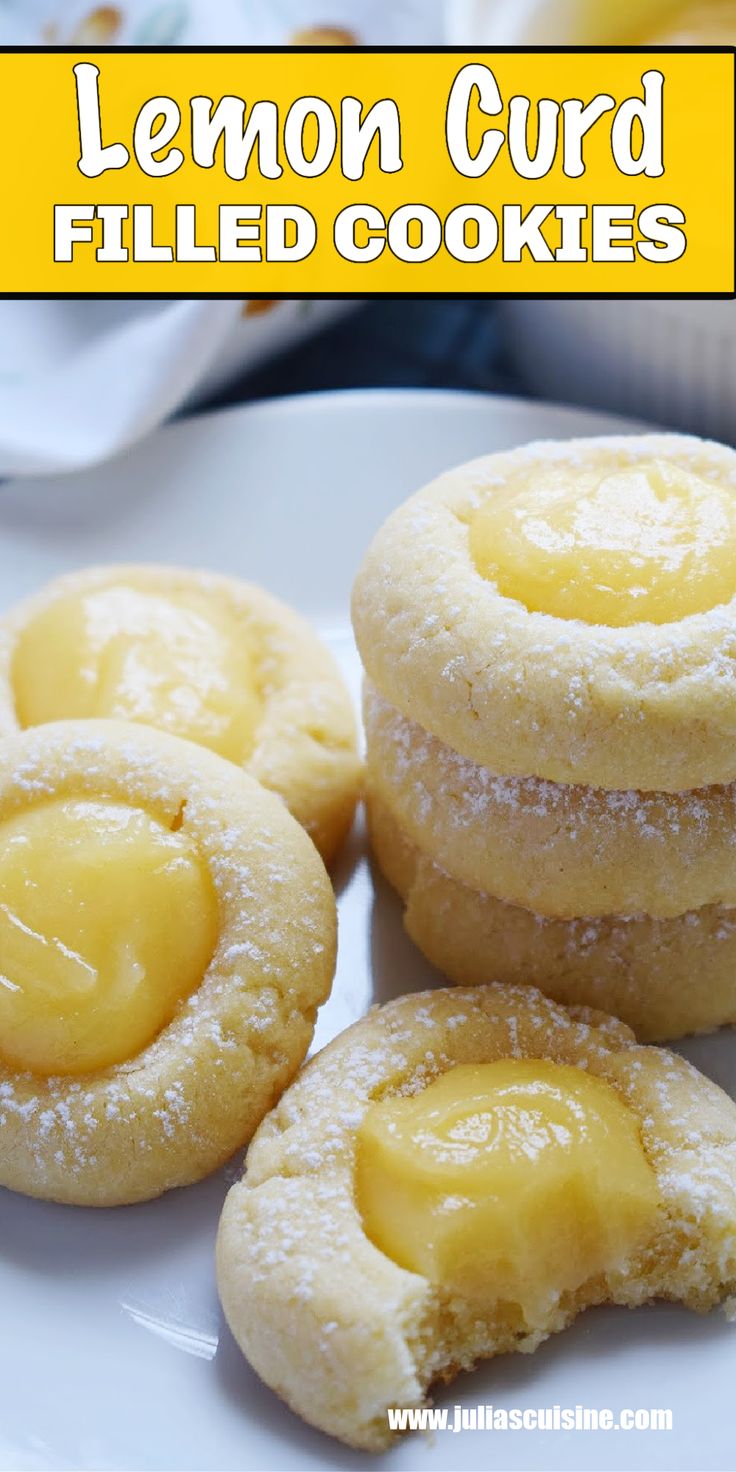
Lemon Curd Cookies – Batch One: Building the Perfect Foundation
There is something truly irresistible about Lemon Curd Cookies. They strike a flawless balance between buttery richness and bright citrus freshness, delivering a cookie that feels both comforting and elegant. In this first batch, we focus on building the base dough — the heart of the cookie — where texture, flavor, and structure are carefully developed. Getting this stage right ensures every cookie that follows is soft, flavorful, and bakery-quality.
Ingredients Used in & Their Purpose
- Unsalted Butter (room temperature) – Butter is the backbone of these cookies. Using it at room temperature allows it to cream smoothly with sugar, creating air pockets that result in a tender, melt-in-your-mouth texture. Unsalted butter gives you full control over flavor.
- Granulated White Sugar – Sugar sweetens the dough and helps create a delicate crispness on the outside while keeping the inside soft. It also assists in proper browning during baking.
- Egg Yolks Only – Yolks add richness, color, and moisture without making the cookies cakey. By excluding the whites, the cookies remain dense, smooth, and luxuriously tender.
- Pure Vanilla Extract – Vanilla rounds out the sharp citrus notes, adding warmth and depth. It enhances all other flavors without overpowering the lemon.
- All-Purpose Flour – Flour provides structure. In this batch, it is carefully incorporated to avoid overmixing, ensuring the cookies stay soft instead of tough.
- Salt – A small amount of salt enhances sweetness and sharpens the lemon flavor, preventing the cookies from tasting flat.
Step-by-Step Preparation
- Cream the Butter and Sugar
In a large mixing bowl, beat the room-temperature butter with granulated sugar until pale, light, and fluffy. This process is crucial—it introduces air into the dough, which leads to a tender cookie crumb. - Add Egg Yolks and Vanilla
Once the butter mixture is fluffy, add the egg yolks one at a time, mixing thoroughly after each addition. Stir in the vanilla extract, ensuring everything is well combined and silky smooth. - Incorporate Dry Ingredients
In a separate bowl, whisk together flour and salt. Gradually add this mixture to the wet ingredients, mixing on low speed just until combined. Overmixing at this stage can develop gluten and ruin the delicate texture. - Chill the Dough
Cover the dough and refrigerate for at least 30 minutes. Chilling firms the butter, improves flavor, and prevents excessive spreading during baking.
Why This Batch Matters
This first batch lays the groundwork for everything that follows. A properly creamed dough ensures consistent texture, balanced sweetness, and the perfect base to support the lemon curd filling added later. Skipping or rushing this stage often leads to flat, greasy cookies.
Pro Tips for Batch One Success
- Always use room-temperature butter — cold butter will not cream properly.
- Measure flour accurately using the spoon-and-level method.
- Chilling is not optional; it dramatically improves structure and flavor.
What Was Done in Batch One
In this batch, we created the core cookie dough. We focused entirely on texture, richness, and balance — no lemon curd yet. This ensures a strong, flavorful foundation that will support the citrus filling in later batches without collapsing or becoming soggy.
Next up: Batch Two will focus on shaping, baking techniques, and achieving the perfect soft cookie shell.
Mixing, Dough Development & Flavor Building
In this second batch, we move beyond ingredients and into the heart of what makes
Lemon Curd Cookies truly unforgettable: proper mixing, dough consistency,
and flavor development. This stage is where texture is defined, balance is achieved, and
mistakes are either prevented or locked in — which is why attention to detail here matters so much.
Unlike rushed cookie recipes, this method focuses on controlled mixing to ensure
the cookies bake up tender, not tough, and rich without being greasy. Every motion has a purpose.
Step 1: Creaming Butter and Sugar Correctly
Begin by placing the room-temperature unsalted butter into a large mixing bowl.
Add the granulated sugar and beat them together using a hand mixer or stand mixer
on medium speed.
This is not just mixing — it’s creaming. During this step, tiny air pockets are
formed inside the butter, which later expand in the oven and give the cookies their
light, tender structure.
Cream for 2–3 full minutes until the mixture turns pale, fluffy, and slightly glossy.
If the mixture looks dense or greasy, keep mixing — rushing this step is one of the most common
cookie mistakes.
Step 2: Adding Egg Yolks for Richness
Next, add the egg yolks only, one at a time, mixing well after each addition.
Egg yolks are essential in this recipe because they provide:
- Fat – for richness and tenderness
- Emulsification – helping fat and liquid blend smoothly
- Color – giving the dough a soft golden hue
Using only yolks (and not whites) keeps the cookies soft and prevents a cakey texture.
The dough should now look smooth, creamy, and cohesive.
Step 3: Vanilla and Flavor Enhancement
Add the vanilla extract and mix briefly just until incorporated.
Vanilla doesn’t overpower lemon — instead, it rounds out the sharp citrus notes
and adds warmth to the overall flavor profile.
At this stage, take a moment to scrape down the sides and bottom of the bowl.
Even mixing ensures consistent cookies, both in flavor and texture.
Step 4: Dry Ingredients Integration
In a separate bowl, whisk together the all-purpose flour and
salt. This evenly distributes the salt, preventing uneven seasoning.
Gradually add the dry ingredients to the wet mixture, mixing on low speed.
Stop as soon as the flour disappears. Overmixing at this point develops gluten,
which would make the cookies dense instead of tender.
The finished dough should be:
- Soft but not sticky
- Smooth and uniform
- Easy to roll or scoop
What Was Completed in Batch Two?
In this batch, we:
- Properly creamed butter and sugar for structure
- Incorporated egg yolks for richness
- Balanced flavors with vanilla
- Developed a perfectly mixed cookie dough
The dough is now fully prepared and ready for shaping, filling, and baking —
which will be covered in Batch Three.
Shaping the Cookies & Adding the Lemon Curd Filling
Now that our cookie dough is perfectly prepared, it’s time to move on to the part
that truly makes these Lemon Curd Cookies stand out: shaping each cookie
and adding the creamy, tangy filling. This step requires both precision and a gentle hand
to ensure every bite is filled with luscious lemon flavor without any spills or cracking.
Step 1: Preparing the Workspace
Begin by lining a baking sheet with parchment paper or a silicone baking mat.
This prevents sticking and allows for easy removal. Keep a small bowl of flour nearby to lightly
dust your hands and rolling surfaces — this prevents dough from clinging while maintaining
smooth surfaces for shaping.
Step 2: Rolling and Portioning Dough
Use a small cookie scoop or tablespoon to portion the dough into equal amounts. Consistency is
key to even baking. Roll each portion into a smooth ball between your palms, making sure there
are no cracks. The dough should feel soft yet firm enough to hold its shape.
Step 3: Creating the Indentation for Lemon Curd
Using your thumb, a small spoon, or the end of a wooden spoon, gently press a shallow indentation
in the center of each dough ball. This will serve as a well to hold the lemon curd
filling during baking. Be careful not to press all the way through the dough — you want the
bottom to remain intact to hold the filling.
Step 4: Adding Lemon Curd
Spoon a small amount of prepared lemon curd into each indentation. You don’t need
much; a teaspoon is typically sufficient. The key is balance — too much can cause the filling
to leak over the sides, while too little reduces the tangy burst in each bite.
For extra precision, use a piping bag or a small zip-top bag with a corner snipped. This allows you
to control the amount and placement of the lemon curd, ensuring consistent cookies.
Step 5: Sealing the Filling (Optional)
If you want a more traditional “filled” appearance, lightly pull the dough edges up and around the
lemon curd, pinching gently to seal. This technique is optional and depends on whether you prefer
a thumbprint style or fully encased cookie.
Step 6: Final Cookie Preparation
Once all cookies are filled and shaped, place them on the prepared baking sheet with at least
2 inches of space between each. This spacing allows heat to circulate evenly, preventing sticking
and ensuring uniform baking.
Pro Tips for Perfect Shaping
- Chill the dough slightly before shaping if it’s too soft; this makes handling easier.
- Use a consistent scoop size to ensure all cookies bake evenly.
- Keep your hands lightly floured to prevent sticking and maintain smooth edges.
- Don’t overfill the lemon curd — a small amount delivers a flavorful burst without leakage.
Batch Three Summary
In this stage, we have:
- Portioned and rolled dough into uniform balls
- Created centers for lemon curd filling
- Carefully added and optionally sealed the lemon curd
- Prepared cookies for baking with proper spacing
With the cookies now perfectly shaped and filled, they’re ready to go into the oven.
Batch Four will cover the baking process, finishing touches, glazing,
and serving suggestions to make these Lemon Curd Cookies truly irresistible.
Batch Four: Baking, Cooling, Glazing, and Serving
Now that your Lemon Curd Cookies are perfectly shaped and filled, it’s time to
bring them to life in the oven. This stage is critical because proper baking and cooling
preserve the cookie’s soft texture while ensuring the lemon curd remains
luscious and intact. We will also cover glazing, presentation, and serving to make them
irresistible.
Step 1: Preheating the Oven
Preheat your oven to 350°F (175°C). Ensure the oven rack is in the center
for even heat distribution. Avoid opening the oven frequently during baking as it can cause
temperature fluctuations that affect cookie texture.
Step 2: Baking the Cookies
Place the baking sheet with cookies in the preheated oven and bake for 12-15 minutes.
You want the cookies to be lightly golden at the edges but still soft in the center.
Overbaking will dry them out, while underbaking may leave the dough slightly raw.
Keep a close eye starting at 10 minutes for best results.
Step 3: Cooling the Cookies
Once baked, remove the cookies from the oven and let them rest on the baking sheet for about
5 minutes. Then transfer them carefully to a wire rack to cool completely. Proper cooling ensures
the cookies firm up slightly and the lemon curd stays in place. Avoid stacking
cookies until fully cooled to maintain their shape.
Step 4: Preparing the Lemon Glaze
While the cookies are cooling, prepare a simple lemon glaze for a finishing touch. In a small
bowl, whisk together 1 cup powdered sugar with 2-3 tablespoons fresh lemon juice.
Adjust the consistency — add more sugar for a thicker glaze or more lemon juice for a thinner drizzle.
Optional: add a few drops of lemon zest for an extra burst of citrus aroma.
Step 5: Glazing the Cookies
Once the cookies have cooled completely, use a spoon or piping bag to drizzle the glaze over each
cookie. The glossy finish not only enhances visual appeal but adds a sweet-tart layer that complements
the buttery base and tangy lemon curd perfectly.
Step 6: Serving and Storing
Serve your Lemon Curd Cookies on a decorative platter or individually in paper liners.
These cookies are perfect for holiday gatherings, afternoon tea, or gifting.
To store, keep them in an airtight container at room temperature for up to 4 days.
For longer storage, freeze unglazed cookies and drizzle glaze after thawing.
Pro Tips for Perfect Lemon Curd Cookies
- Use fresh lemon juice and zest for the most vibrant flavor.
- Chill cookie dough slightly if too soft for easier handling.
- Double-drizzle glaze for a professional, bakery-style look.
- Ensure cookies are fully cooled before glazing to prevent melting the glaze.
- For a zesty twist, sprinkle a tiny bit of coarse sugar on top before glazing for crunch.
Batch Four Summary
In this final stage, we:
- Baked the cookies to perfection with tender centers and slightly golden edges.
- Cooled them properly to maintain structure and keep the lemon curd intact.
- Prepared a sweet, tangy lemon glaze for a professional finish.
- Glazed, served, and shared pro tips for presentation and storage.
These Lemon Curd Cookies now stand ready to impress — buttery, soft, tangy,
and elegantly glazed. They are the perfect blend of classic baking and bright citrus flavor
that will delight anyone lucky enough to try them.