Ultimate Brownie Journey — The Fudgiest, Most Velvet-Soft Brownies
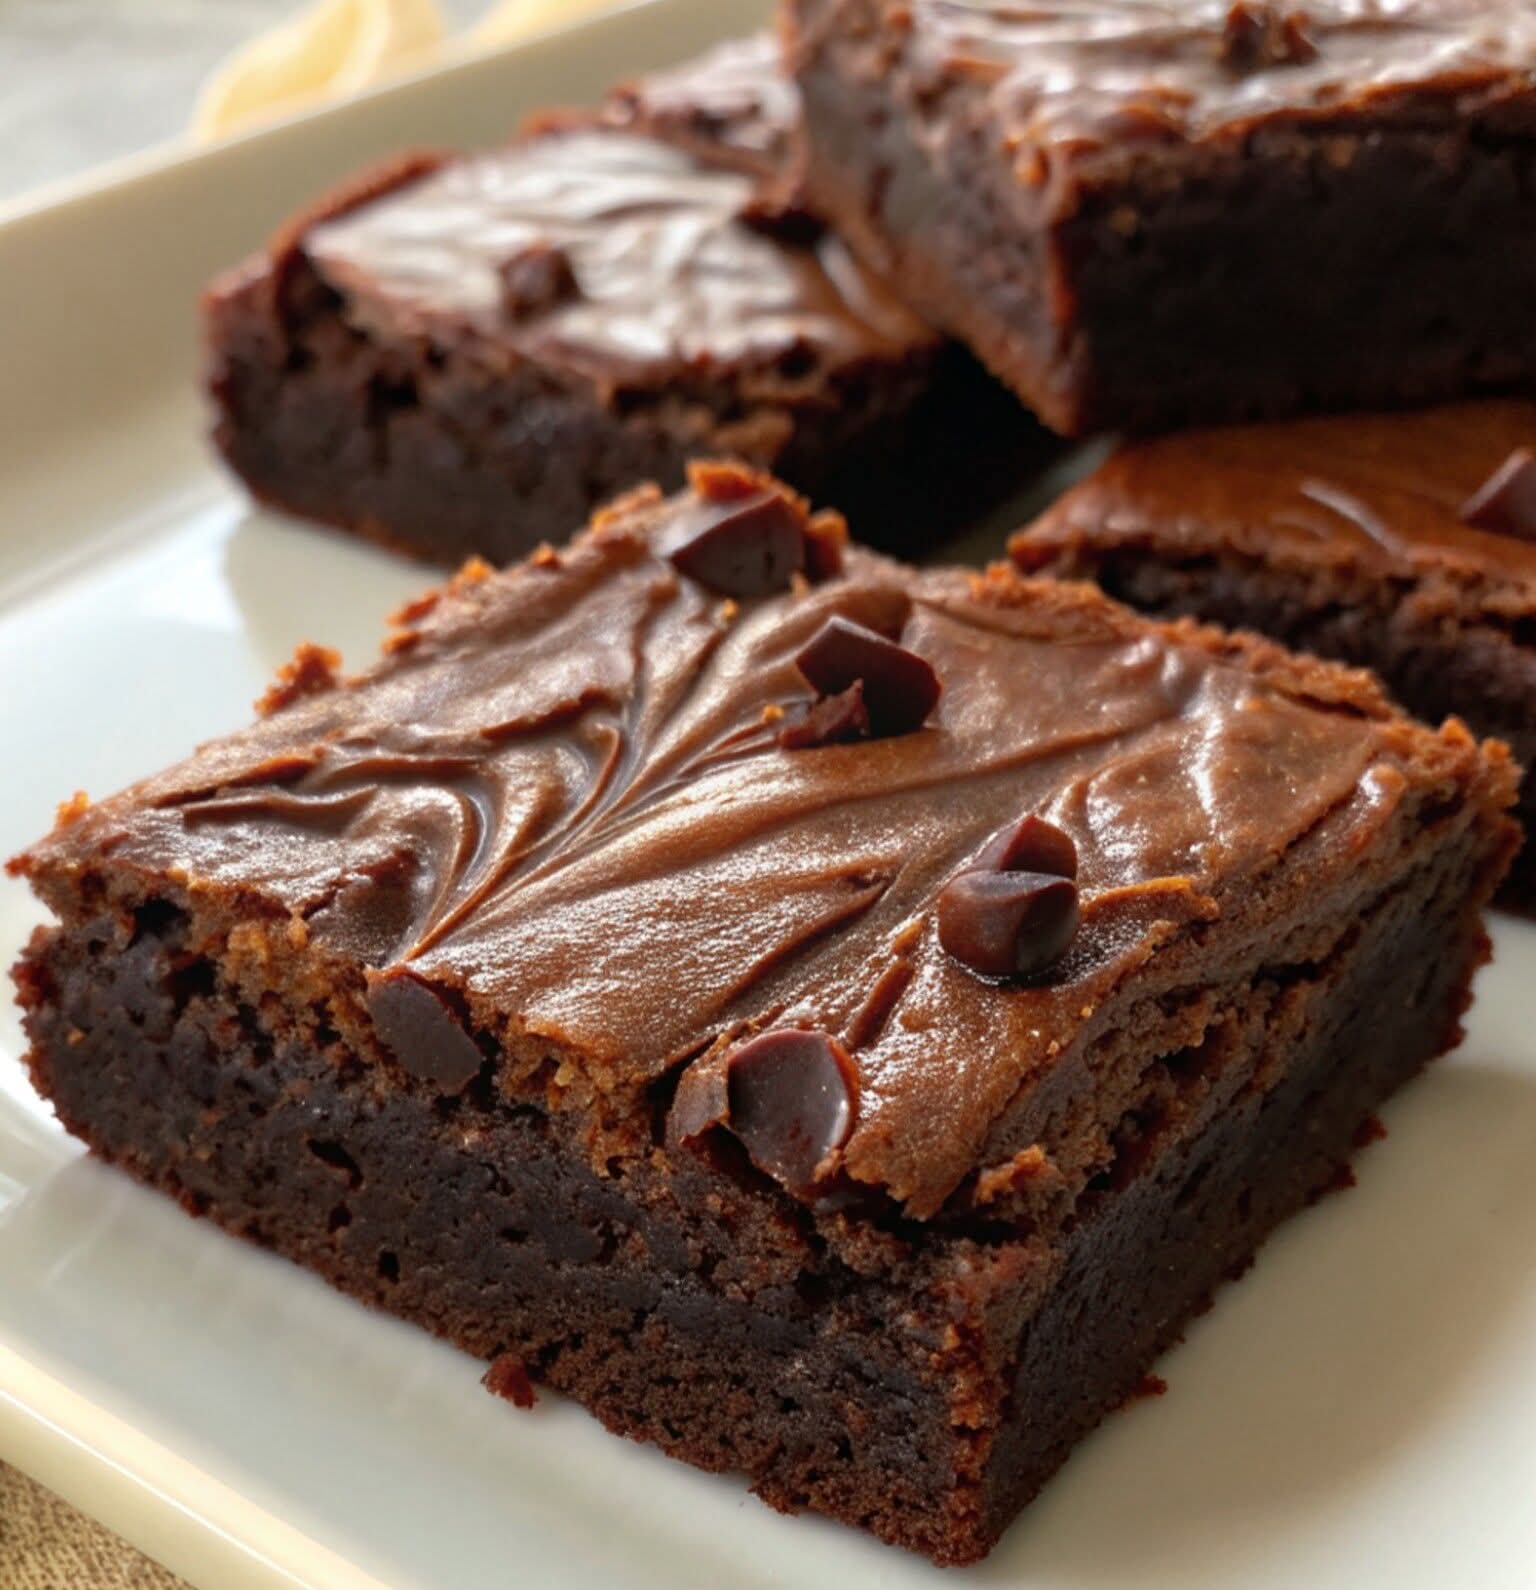
Welcome to the Ultimate Brownie Journey — a deep-dive, kitchen-tested masterclass that turns a simple list of ingredients into truly exceptional brownies. These brownies combine the intense cocoa flavor of sifted cocoa powder with the silky richness of melted chocolate, producing a dense, glossy, deeply chocolatey brownie with a lacy-crackled top and a custardy, fudgy interior.
Ingredient List & Why Each One Matters
Below is the precise ingredient list used in this Ultimate Brownie recipe plus a detailed explanation of each ingredient’s role in texture and flavor.
| Ingredient | Amount | Role / Notes |
|---|---|---|
| Granulated sugar | 1 cup (200 g) | Sweetness and caramelization. Helps set structure while also contributing to that shiny crackled top. |
| All-purpose flour | 1/2 cup (65 g) | Provides minimal structure—keep this low to preserve fudginess rather than cakiness. |
| Unsweetened cocoa powder (sifted) | 1/3 cup (35 g) | Deep chocolate flavor and color. Sifting removes lumps for a smooth batter. |
| Salt | 1/4 tsp | Enhances chocolate flavor and balances sweetness. |
| Baking powder | 1/4 tsp | Very small lift to prevent brownies from being too dense—optional for a slightly lighter bite. |
| Large eggs | 2 (room temperature) | Structure, richness, and moisture. Room-temp eggs emulsify better with oil/chocolate. |
| Vegetable oil (or neutral oil) | 1/2 cup (120 ml) | Keeps brownies moist and tender. Neutral oils let chocolate flavor shine; melted butter can be used for a richer taste. |
| Granulated or brewed espresso (optional) | 1 tbsp (liquid) or 1 tsp instant | Intensifies chocolate notes without making the brownies taste like coffee. |
| Melted dark chocolate (60–70% cacao) | 4 oz (115 g), melted & slightly cooled | Adds deep chocolate richness and a silkier crumb than cocoa alone—key for “ultimate” brownies. |
| Vanilla extract | 1 tsp | Rounds out and brightens chocolate flavor. |
Equipment & Prep Notes
- Oven set to 350°F (175°C) unless otherwise specified.
- 8×8-inch (20×20 cm) square pan, lined with parchment and lightly greased for easy removal and clean edges.
- Mixing bowls, whisk, rubber spatula, and a small saucepan or microwave-safe bowl for melting chocolate.
- Candy/instant-read thermometer not required but helpful if melting chocolate precisely.
Step-by-Step Method — Make the Ultimate Brownies
Step 0 — Preheat & Prep
Preheat oven to 350°F (175°C). Line an 8×8 pan with parchment so two opposite sides extend over the rim (this makes lifting brownies out easy). Lightly grease parchment with neutral oil or nonstick spray.
Step 1 — Melt Chocolate
Chop 4 oz (115 g) dark chocolate and melt gently using the microwave in 20–30 second bursts, stirring in between, or over a double boiler. Remove from heat and allow to cool slightly (so it’s warm, not hot) before adding to eggs—this prevents cooking them.
Step 2 — Whisk Wet Ingredients
In a medium bowl, whisk together 2 room-temperature eggs and 1 cup granulated sugar until well combined. Add 1/2 cup neutral oil, the slightly cooled melted chocolate, and 1 tsp vanilla extract. If using, whisk in espresso or strong brewed coffee (1 Tbsp).
Step 3 — Combine Dry Ingredients
In a separate bowl, sift together 1/3 cup cocoa powder, 1/2 cup all-purpose flour, 1/4 tsp salt, and 1/4 tsp baking powder. Sifting prevents lumps and ensures even distribution of the leavener and cocoa.
Step 4 — Fold Dry into Wet
Gently fold the dry mixture into the wet chocolate-egg mixture using a rubber spatula. Mix just until no streaks of flour remain—overmixing develops gluten and leads to cakier brownies.
Step 5 — Optional Add-ins
At this stage you can fold in 1/2 to 1 cup of chopped nuts, chocolate chips, toasted hazelnuts, or a swirl of caramel. For a classic extra fudgy bite, add 1/2 cup chocolate chips.
Step 6 — Bake
Pour batter into the prepared pan, smoothing the top. Bake at 350°F (175°C) for 20–30 minutes. Timeout depends on oven and whether you want ultra-fudgy (shorter bake) or more set (longer bake). Start checking at 18–20 minutes. The ideal doneness test:
- Ultra-fudgy: center will still be very soft; a toothpick will come out with gooey crumbs.
- Classic fudgy: slightly moist crumbs on the toothpick (20–24 minutes).
- Edge-firm/cakey center: clean toothpick (25–30 minutes).
Step 7 — Cool & Set
Remove brownies from oven and allow to cool in the pan on a wire rack for at least 45–60 minutes. Cooling is crucial—warm brownies cut too early will be gooey and not hold their shape. For cleaner slices, chill in the refrigerator for 30–60 minutes before slicing with a hot, dry knife.
Pro Tips That Make These Brownies Legendary
- Melted chocolate + cocoa powder is a power duo: the melted chocolate provides silk and depth; cocoa gives concentrated chocolate flavor and a drier balance so the batter is not overly oily.
- Room-temp eggs incorporate better. Take eggs out 30 minutes before starting.
- Don’t overmix after adding flour—stop when combined to avoid developing gluten that makes brownies cakey.
- Watch the bake time—minutes make the difference between brownie textures. Use the toothpick method and your oven’s hotspots knowledge.
- Shiny crackled top: for an extra-glossy crust, vigorously beat the eggs and sugar at the start for 2–3 minutes to dissolve sugar and build a thin meringue layer before adding the chocolate.
- Slicing technique: run a sharp knife under hot water, dry it, then slice in a single clean motion. Wipe and reheat between cuts for neat edges.
- Pan choice: metal pans conduct heat faster (shorter bake times) while glass takes longer—adjust baking times accordingly.
Flavor Variations & Add-In Ideas
Part of the joy of a brownie base like this is how versatile it is. Try these variations:
- Sea Salt Caramel Brownies: swirl softened caramel into batter and finish with flaky sea salt.
- Nutty Brownies: fold in toasted walnuts, pecans, or hazelnuts for crunch.
- Marble Cheesecake Brownies: dollop cheesecake batter (softened cream cheese, sugar, egg) and swirl before baking.
- Espresso Brownies: add 1–2 tsp instant espresso for depth.
- Mint-Chocolate: fold in chopped Andes mints or a few drops of peppermint oil after baking.
- Chocolate Chip Overload: stir in 1 cup semi-sweet chips for pockets of molten chocolate.
Troubleshooting — Common Problems & Fixes
Problem: Brownies are cakey
Fix: Reduce flour slightly, avoid overmixing, consider removing the baking powder or reducing bake time.
Problem: Brownies are greasy
Fix: Check oil quantity (½ cup is right for fudgy brownies); swap half the oil for melted butter for flavor but keep total fat similar. Avoid overbaking which concentrates oil on the surface.
Problem: Soggy center
Fix: Bake a little longer; allow extended cooling time; chill to set before cutting.
Problem: No shiny crackled top
Fix: Beat eggs and sugar more vigorously at the start to dissolve sugar and create the meringue layer; ensure sugar is granulated rather than coarse.
Storage, Freezing & Reheating
- Room temp: Store cooled brownies in an airtight container for up to 3 days.
- Refrigerate: For creamier, fudgier texture and longer life, refrigerate up to 7 days; bring to room temp or microwave briefly before serving.
- Freeze: Wrap individual brownies in plastic wrap and foil; freeze for up to 3 months. Thaw overnight in fridge, then bring to room temp.
- Reheat: Microwave single brownie for 8–12 seconds for a warm, gooey center. For multiple, warm at 300°F for 6–8 minutes.
FAQs
Q: Can I replace oil with butter?
A: Yes—using melted butter adds flavor but can change texture slightly (butter solidifies at room temp making brownies a bit firmer). Use the same volume of melted butter.
Q: Can I use Dutch-processed cocoa?
A: Absolutely. Dutch-processed cocoa is less acidic and gives a mellower chocolate flavor and darker color. If your recipe uses baking powder, it’s fine; for recipes with only baking soda, flavor balance matters.
Q: Do I have to sift cocoa powder?
A: Sifting removes lumps and ensures an even batter. If your cocoa is powdery and lump-free, sifting is still recommended but not mandatory.
Q: How do I get that “fudgy” edge?
A: Slightly underbake and allow the brownies to cool completely (or briefly chill) before cutting; this helps the center set while keeping a fudgy mouthfeel.
Serving Suggestions & Pairings
- Classic: a scoop of vanilla ice cream and a drizzle of chocolate sauce.
- Decadent: a dollop of whipped cream and a sprinkle of toasted nuts.
- Elegant: dust lightly with cocoa powder and serve with espresso.
- Festive: top with crushed peppermint during holidays for a minty crunch.
Final Thoughts — Why This Recipe Works
This Ultimate Brownie Journey recipe balances concentrated cocoa with melted chocolate, uses minimal flour for a custardy interior, and employs carefully controlled fat and eggs to produce a texture that reads as indulgent—intense in chocolate yet tender and moist. It’s forgiving, adaptable, and rewarding: perfect for bakers who want to create restaurant-quality brownies at home.